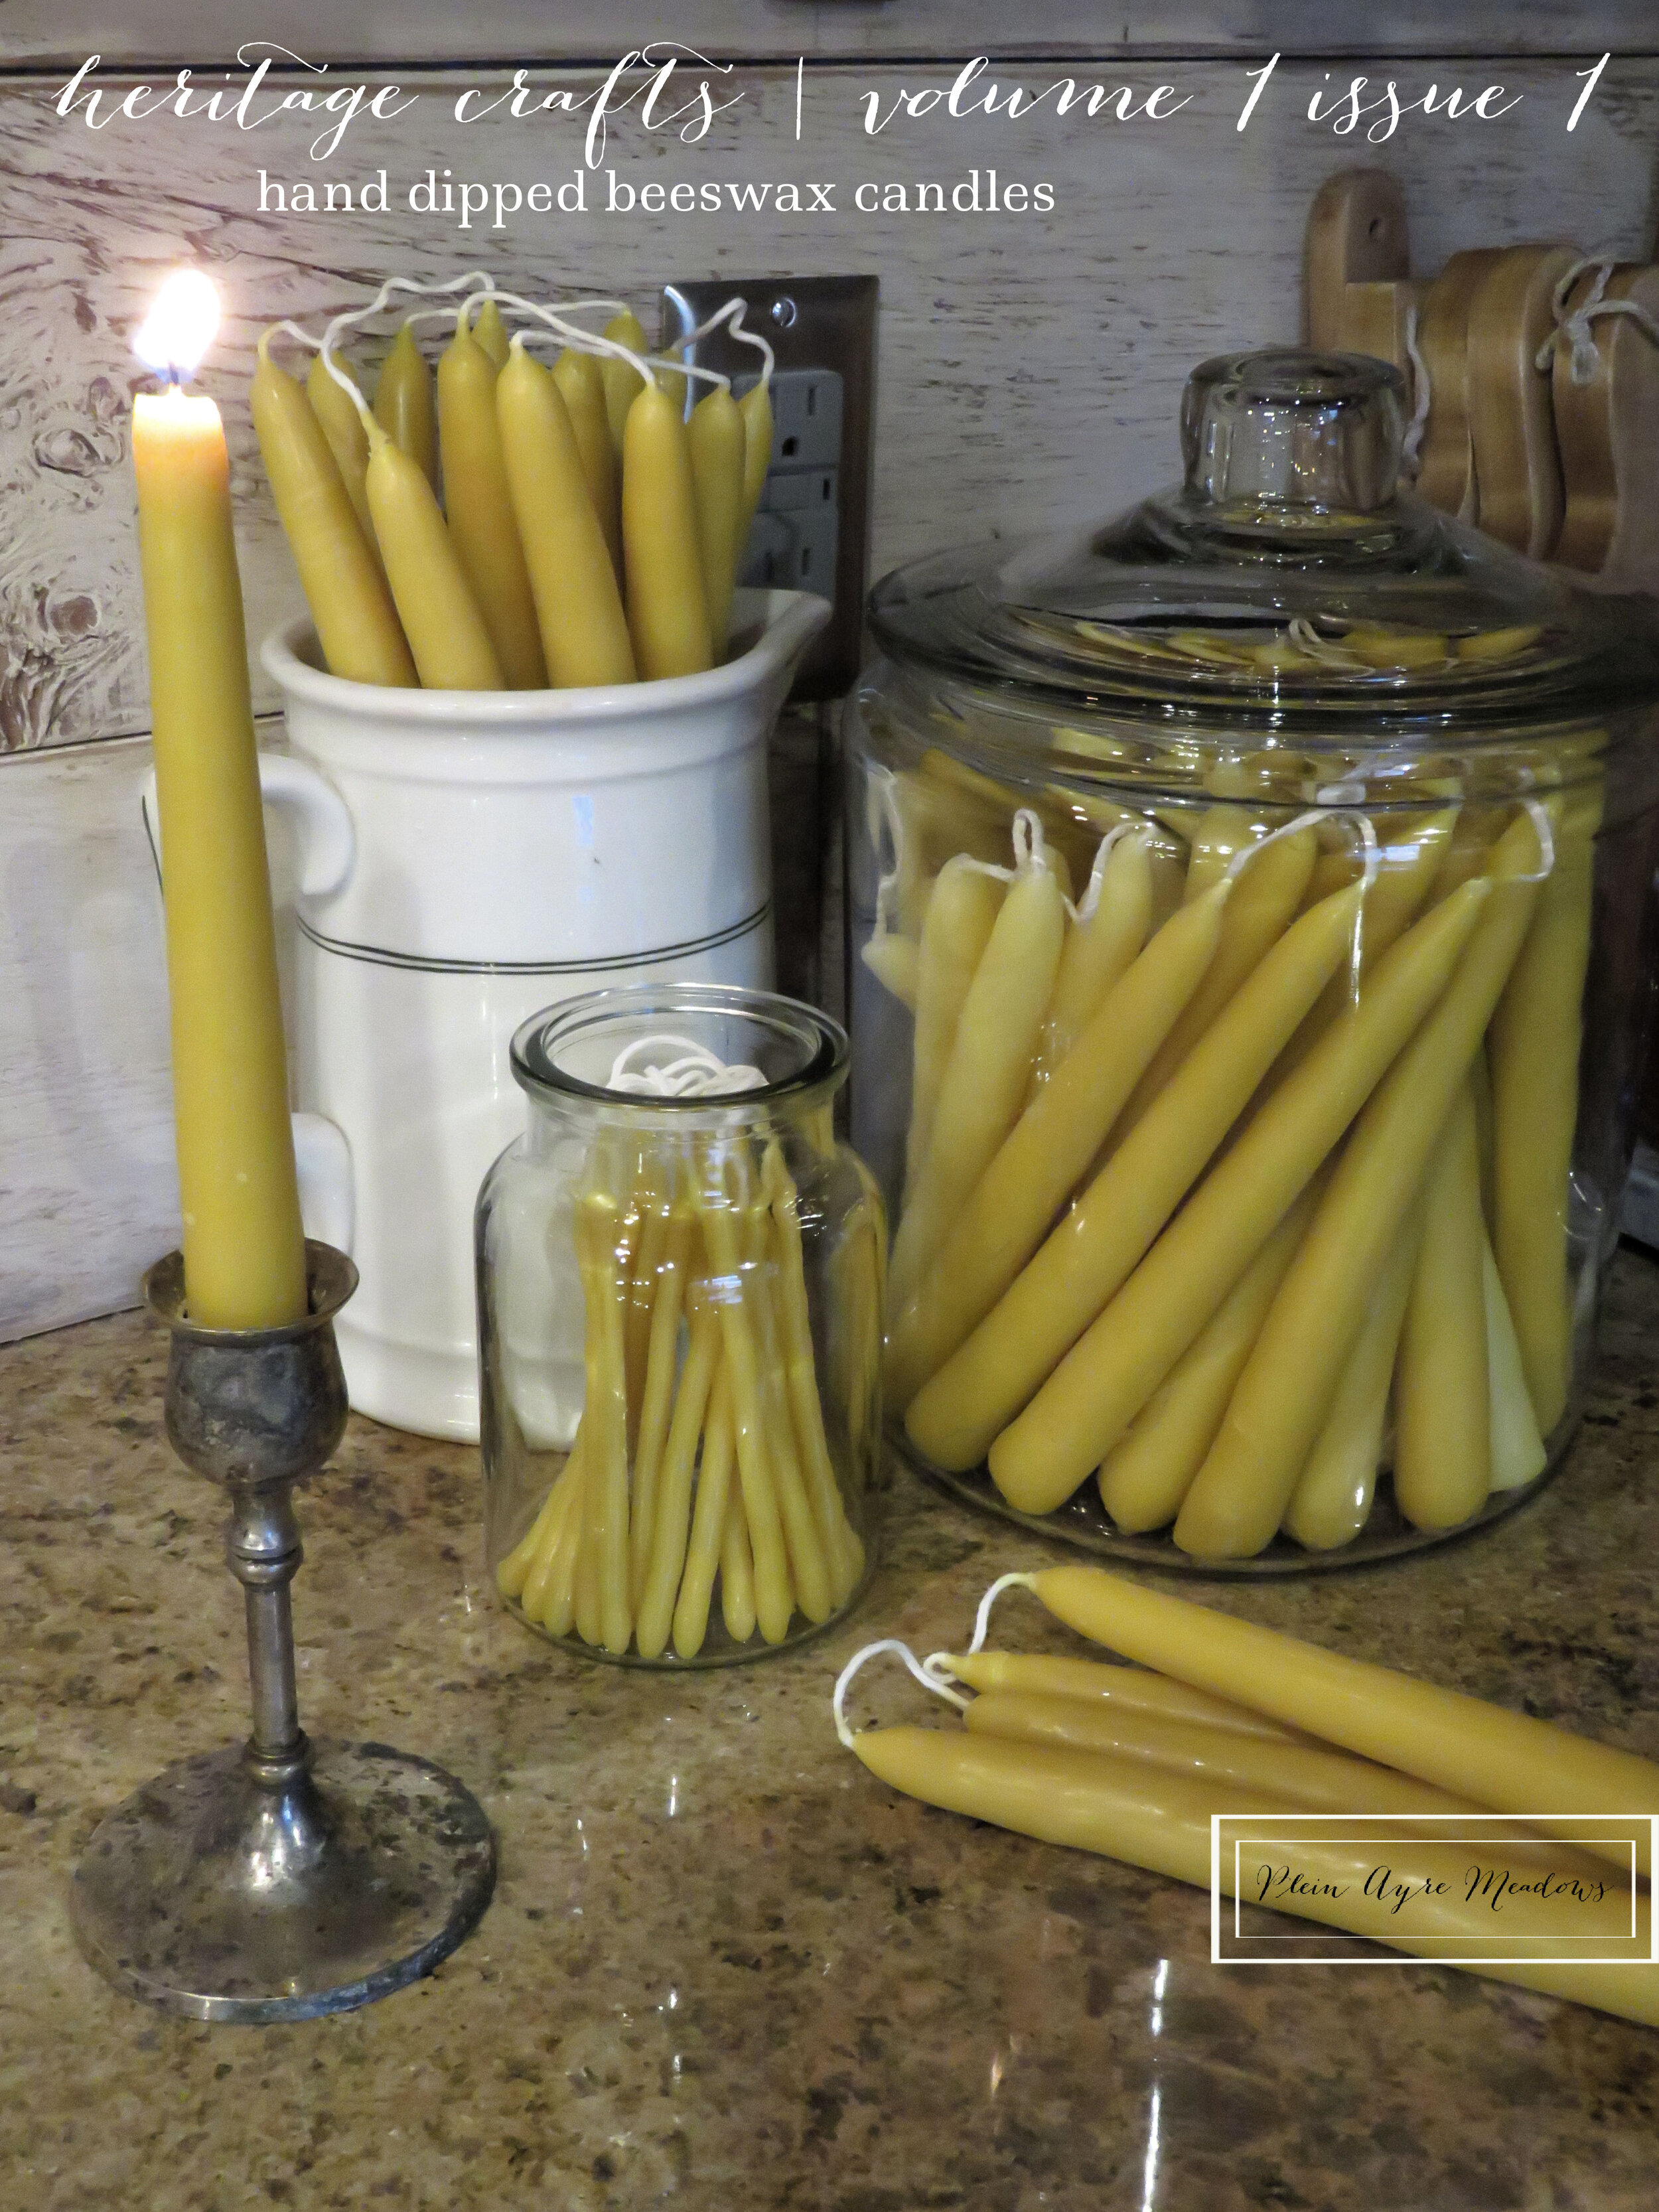
i have always been drawn to lights in the midst of darkness. stars. bonfires. lightening bugs. twinkling christmas lights. and candles.
i would watch these for hours if i could.
my husband is pretty sensitive to smells. i’ve tried different kinds of candles with the same result. and it is not pretty. an almost instant headache for him. with him covering his nose and mouth and running either outside or to the basement. so when i accidently found a post about making your own beeswax candles, i thought i would give it a try.
we are at the beginning of the coldest week we’ve had yet this winter. plus snow. it makes for a wonderful time to stay inside and make candles. the warm smell of the honey scented beeswax fills our home.
did you know that burning beeswax actually cleans the air? when beeswax burns, they produce negative ions. they attach to the positive ions of dust, pollen, toxins, mold, etc. causing them to fall to the floor. beeswax candles are great for those that suffer from allergies. plus they produce a warm honey scent that is not overpowering. my husband actually comments on how good they smell. and he gets no headache from them…
beeswax also burns clean. it is virtually smokeless and dripless. it will drip if placed in a draft, so watch for that.
so now…here are the supplies you will need to make your own hand dipped candles.
-a double broiler or a large pot for water and a container for your beeswax | this could be a recycled food tin. or check your local thrift shops for pots. one thing to remember when looking for your wax containers. the larger the container, the more wax you will need. the shorter the container, the shorter your candles.
-wick | the wick i used is unavailable right now but this one is close. this size of wick works good for candles that are about an inch in width. any smaller and you will need a smaller size wick. possibly a #3/0.
-beeswax | you can check with your local beekeeper or order online. amazon and etsy are both places where i have gotten beeswax. just be sure that the beeswax is 100% and is filtered. and you want either the top comb or the general beeswax. the brood wax, which is dark brown, while great for other applications, is not good for burning candles. you will need more wax then you think. i make 8 pair at a time which only weigh slightly over a pound but i actually need about 4-5 pounds of wax total. i’ll explain why in the tutorial below.
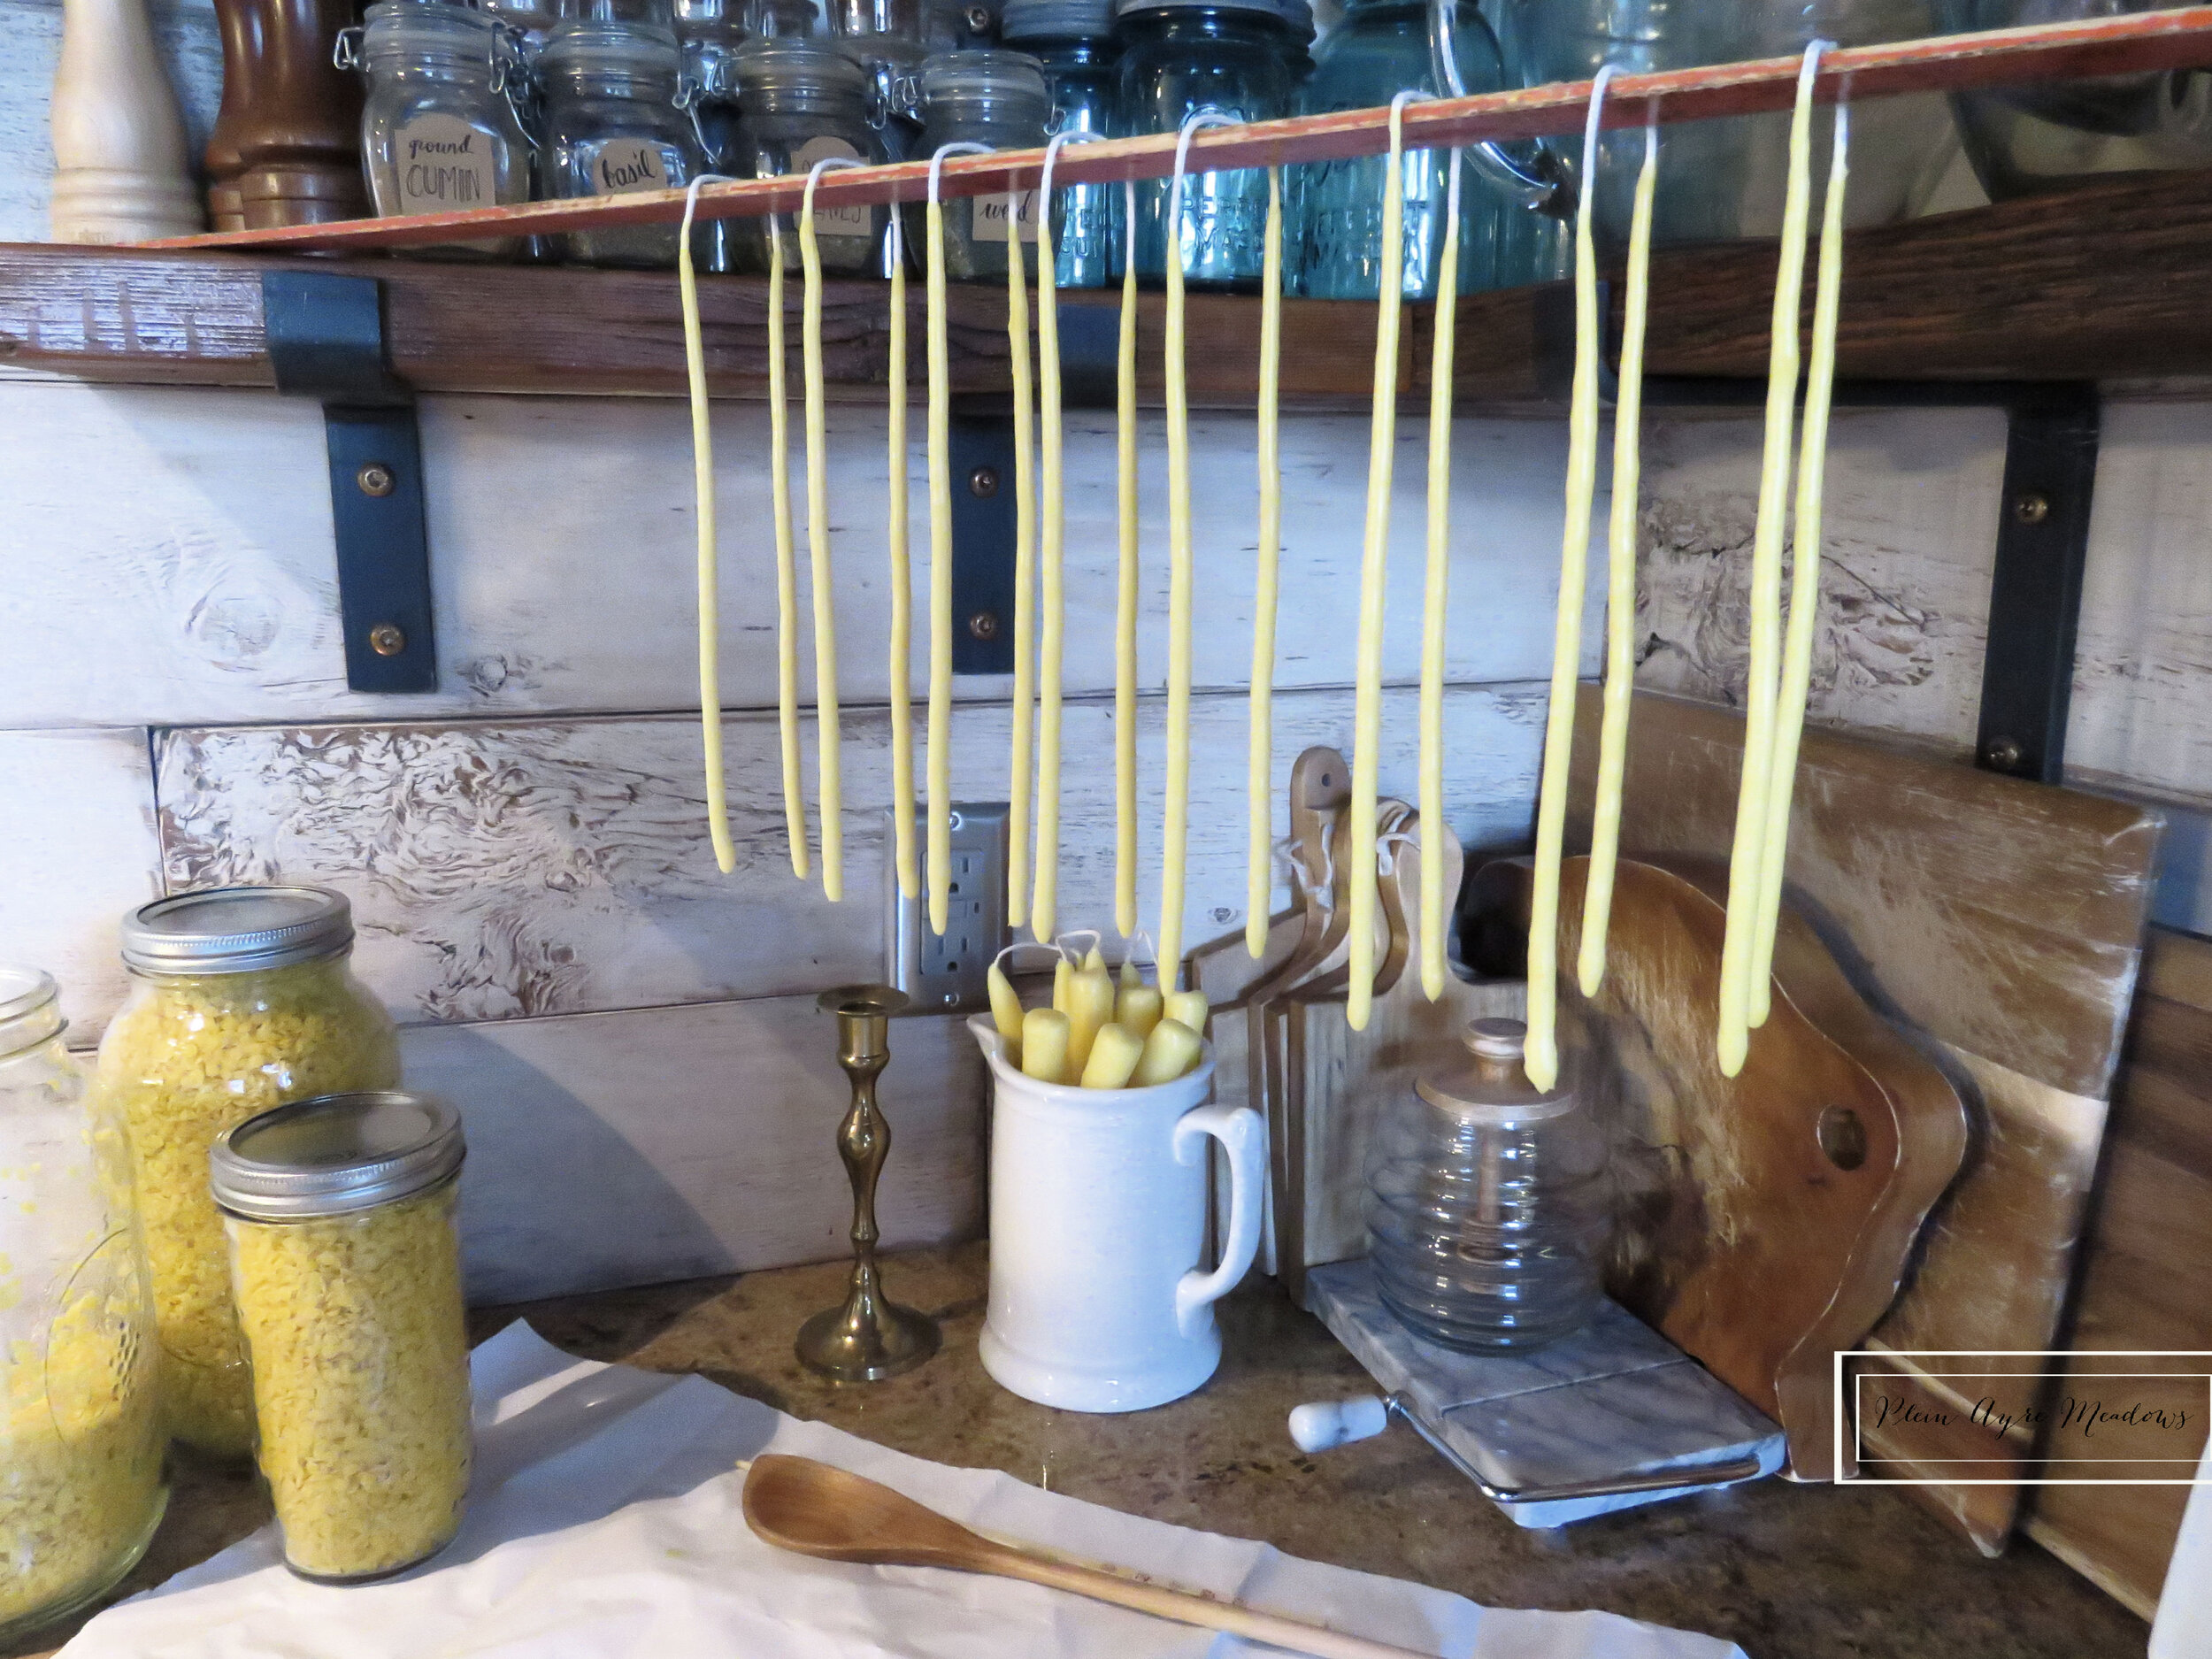
-something to hang your candles on | i use a wooden yard stick across my kitchen shelves.
-a wooden spoon or something to gently stir your unmelted wax into melted wax.
- a sharp knife or scissors
-the candlestick you plan on using with your candles should be within reach
-newspaper to cover your working surface.
one thing to keep in mind. what ever you use for your candle making will only be used for candle making in the future. beeswax is extremely hard to clean off of surfaces, and while not toxic, you don’t want to use your good kitchen items to make candles.
one important thing to remember. never melt your beeswax directly on the stove. always use a double broiler. beeswax can start on fire when it gets too hot. and it will burn very hot.
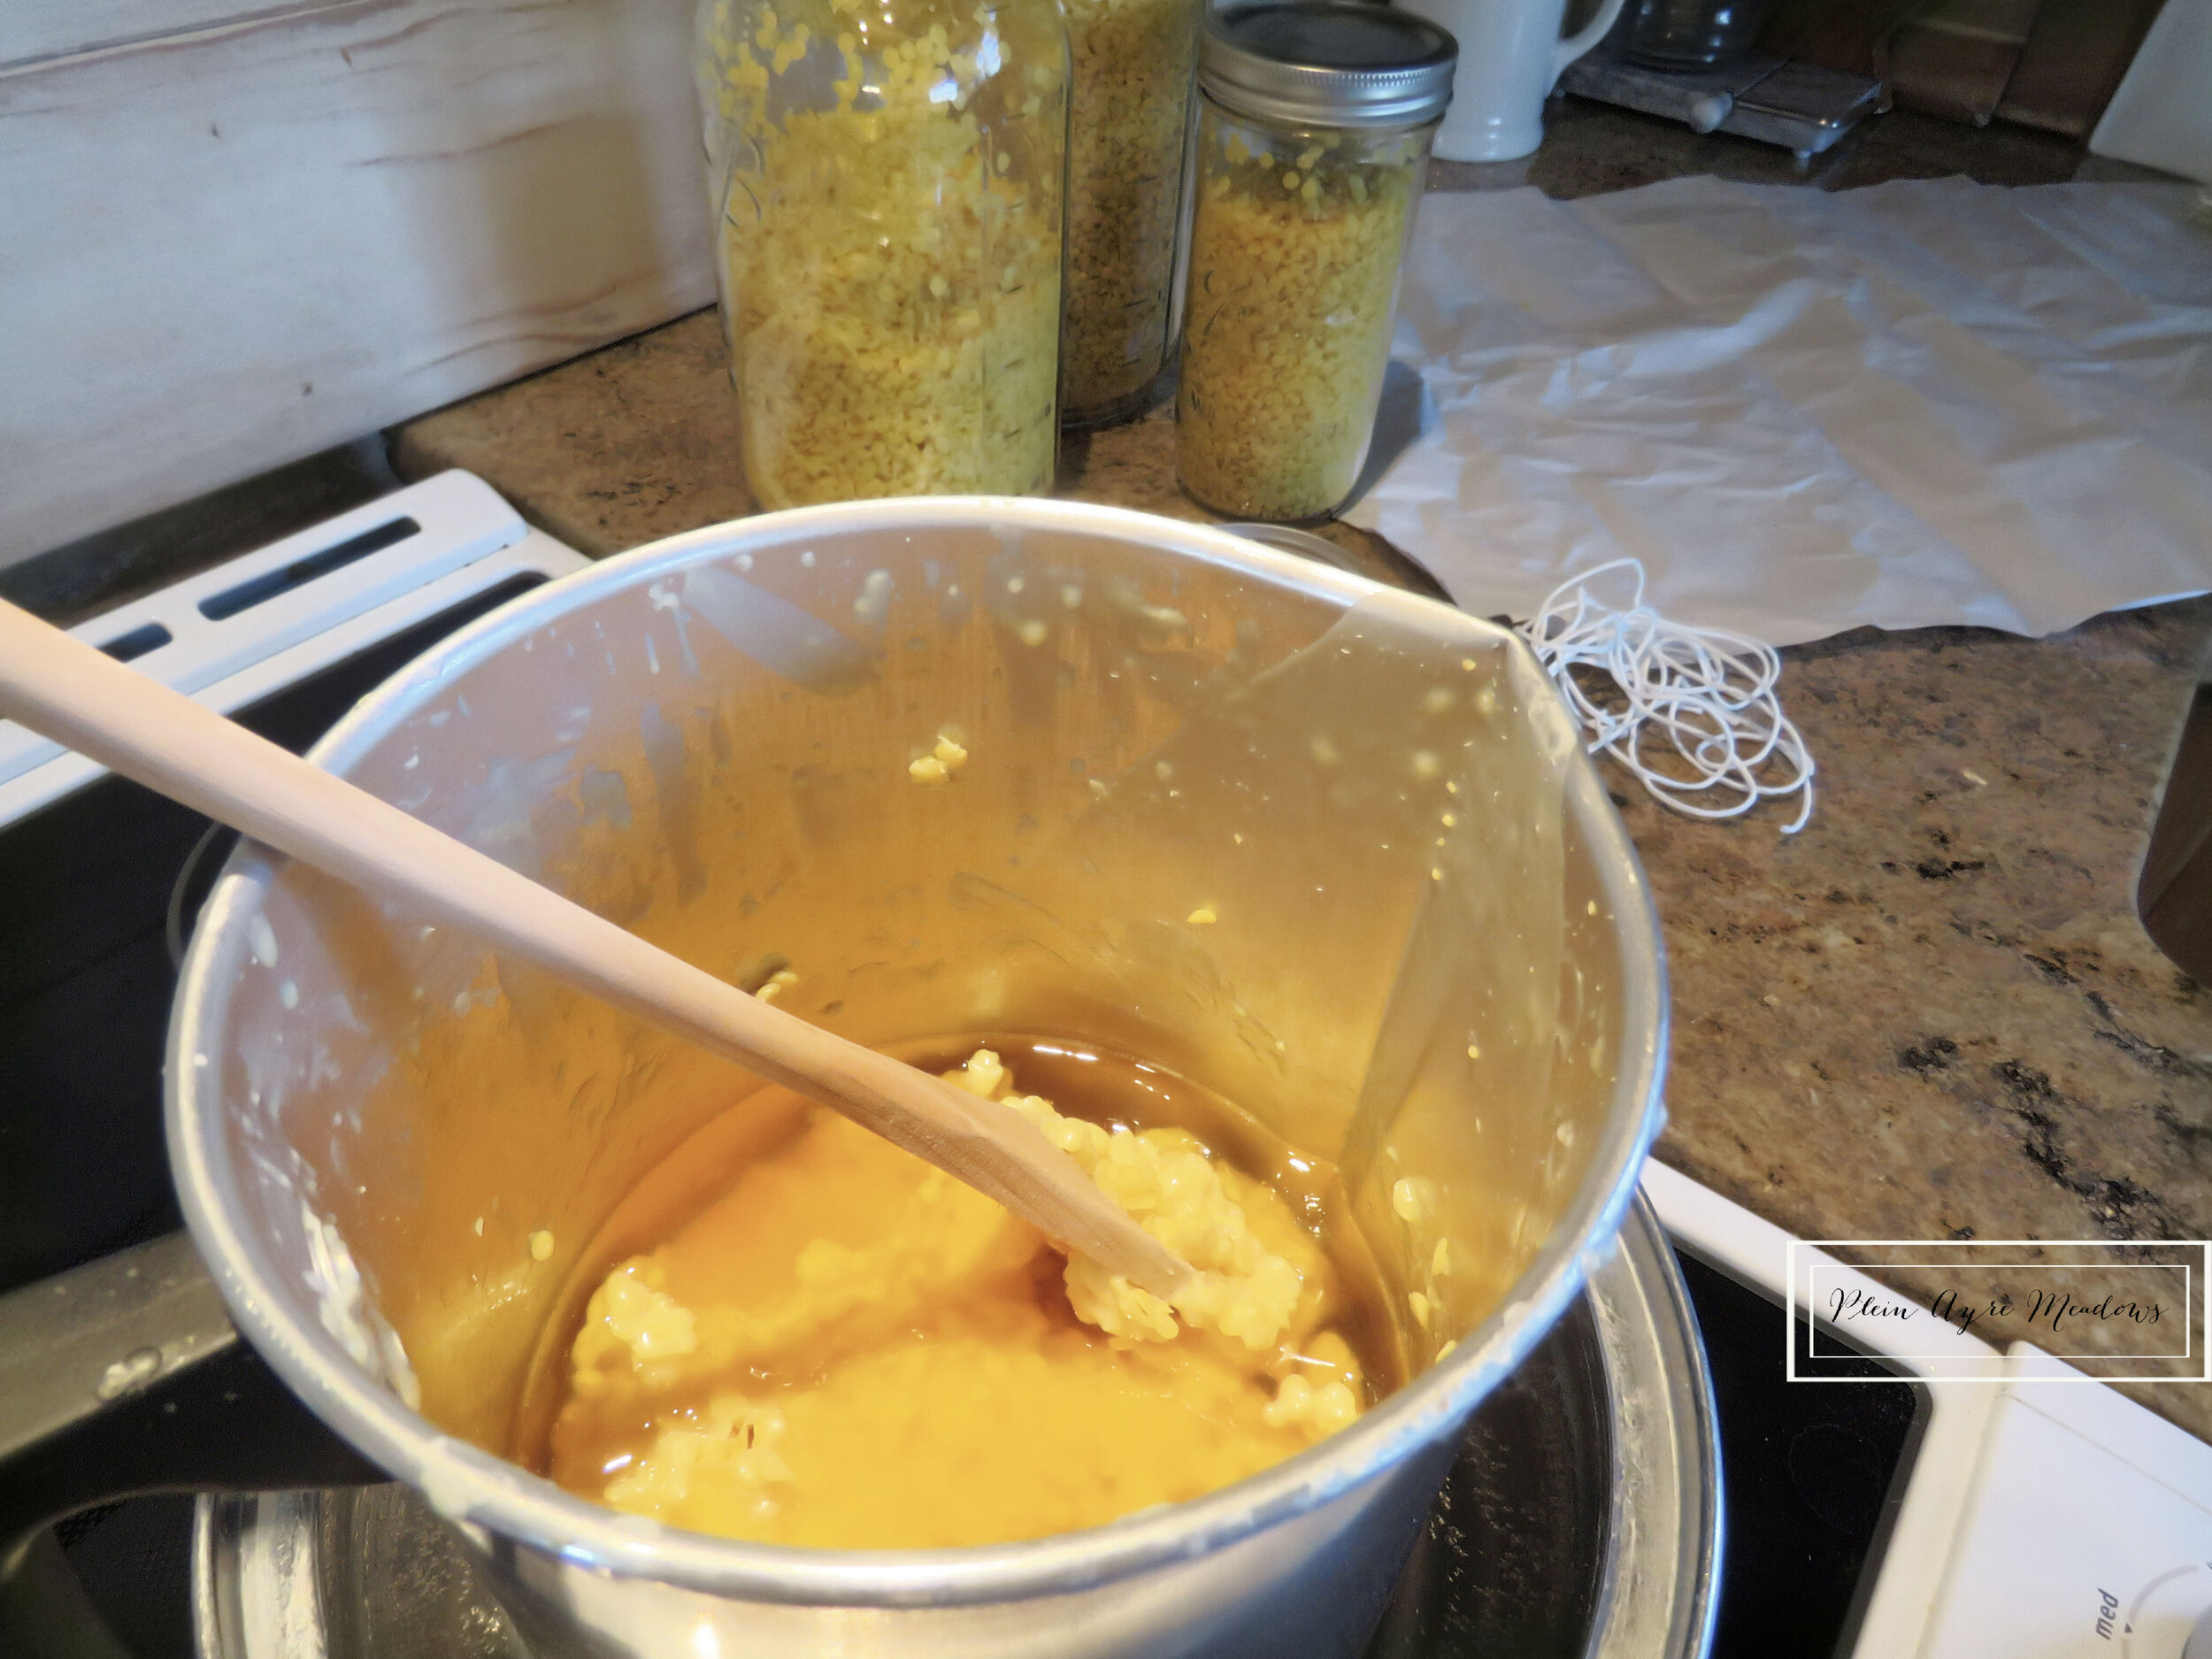
the thing that takes the longest is getting your wax melted. the container i use is roughly 8 inches tall. and it takes about 4 hours to melt enough wax to fill it. so first thing in the morning i start my wax melting, so by after lunch, i can start dipping.
#1 | measure the inside of your wax container. then substract about an inch or two. this will be the length of your candles. cut your wick double the amount plus 2-3 inches. this will allow you to hang your candles. i work with eight pair at a time.
#2 | cover your work surface. fill your container with wax, put it in a pot, then add the water. fill your pot full. the more full of water, the less chance of your wax being too cool at the the top. keep an eye on the water level to make sure it doenst get too low throughout the process. turn on your burner to medium low. you dont want to boil your wax but your water can be at a simmer or low boil.
the beeswax pellets are easy to use, but if you have a block of beeswax, you can put it in a clean garage bag and stick it in the freezer for a couple of hours. then in order to break the chunks up, drop it on a concrete floor. its much easier on your hands then shredding or cut the with your hands.
as your wax melts, add more wax until it reaches almost to the top of your container. my container took about 4 pounds of wax to fill it.
#3 | you will need to prepare your wick. to do this, fold your long pieces of wick in half and dip into the melted wax. you will see tiny air bubbles.
remove when the bubbles stop. this will only take a few seconds. this allows the wick to soak up the wax. this in turn, will cause an even burn.
#4 | when you have prepared a couple of wicks. go back and straighten them out with your fingers. pull evenly on both ends. you will need to do this while its still warm, but dont burn your fingers. if you wait too long, the wax will cool. and you could crack the wax.
just keep going back and forth, dipping and straightening. once all the wicks are prepared and straighten, start dipping again. but this time, dip straight in and pull straight out. you don’t need to keep the wick in long. in fact, if you leave it in too long, you will melt the wax off of your wick. you will need to straighten out the wicks for the first 3-4 times you dip them. just pull on the ends like you did at the beginning. after that the candles should stay straight. once the last set is done, the first set is cool enough to dip again.
remember to keep an eye on the water level adding more as needed. also add more wax as needed. you need to keep your melting container full.
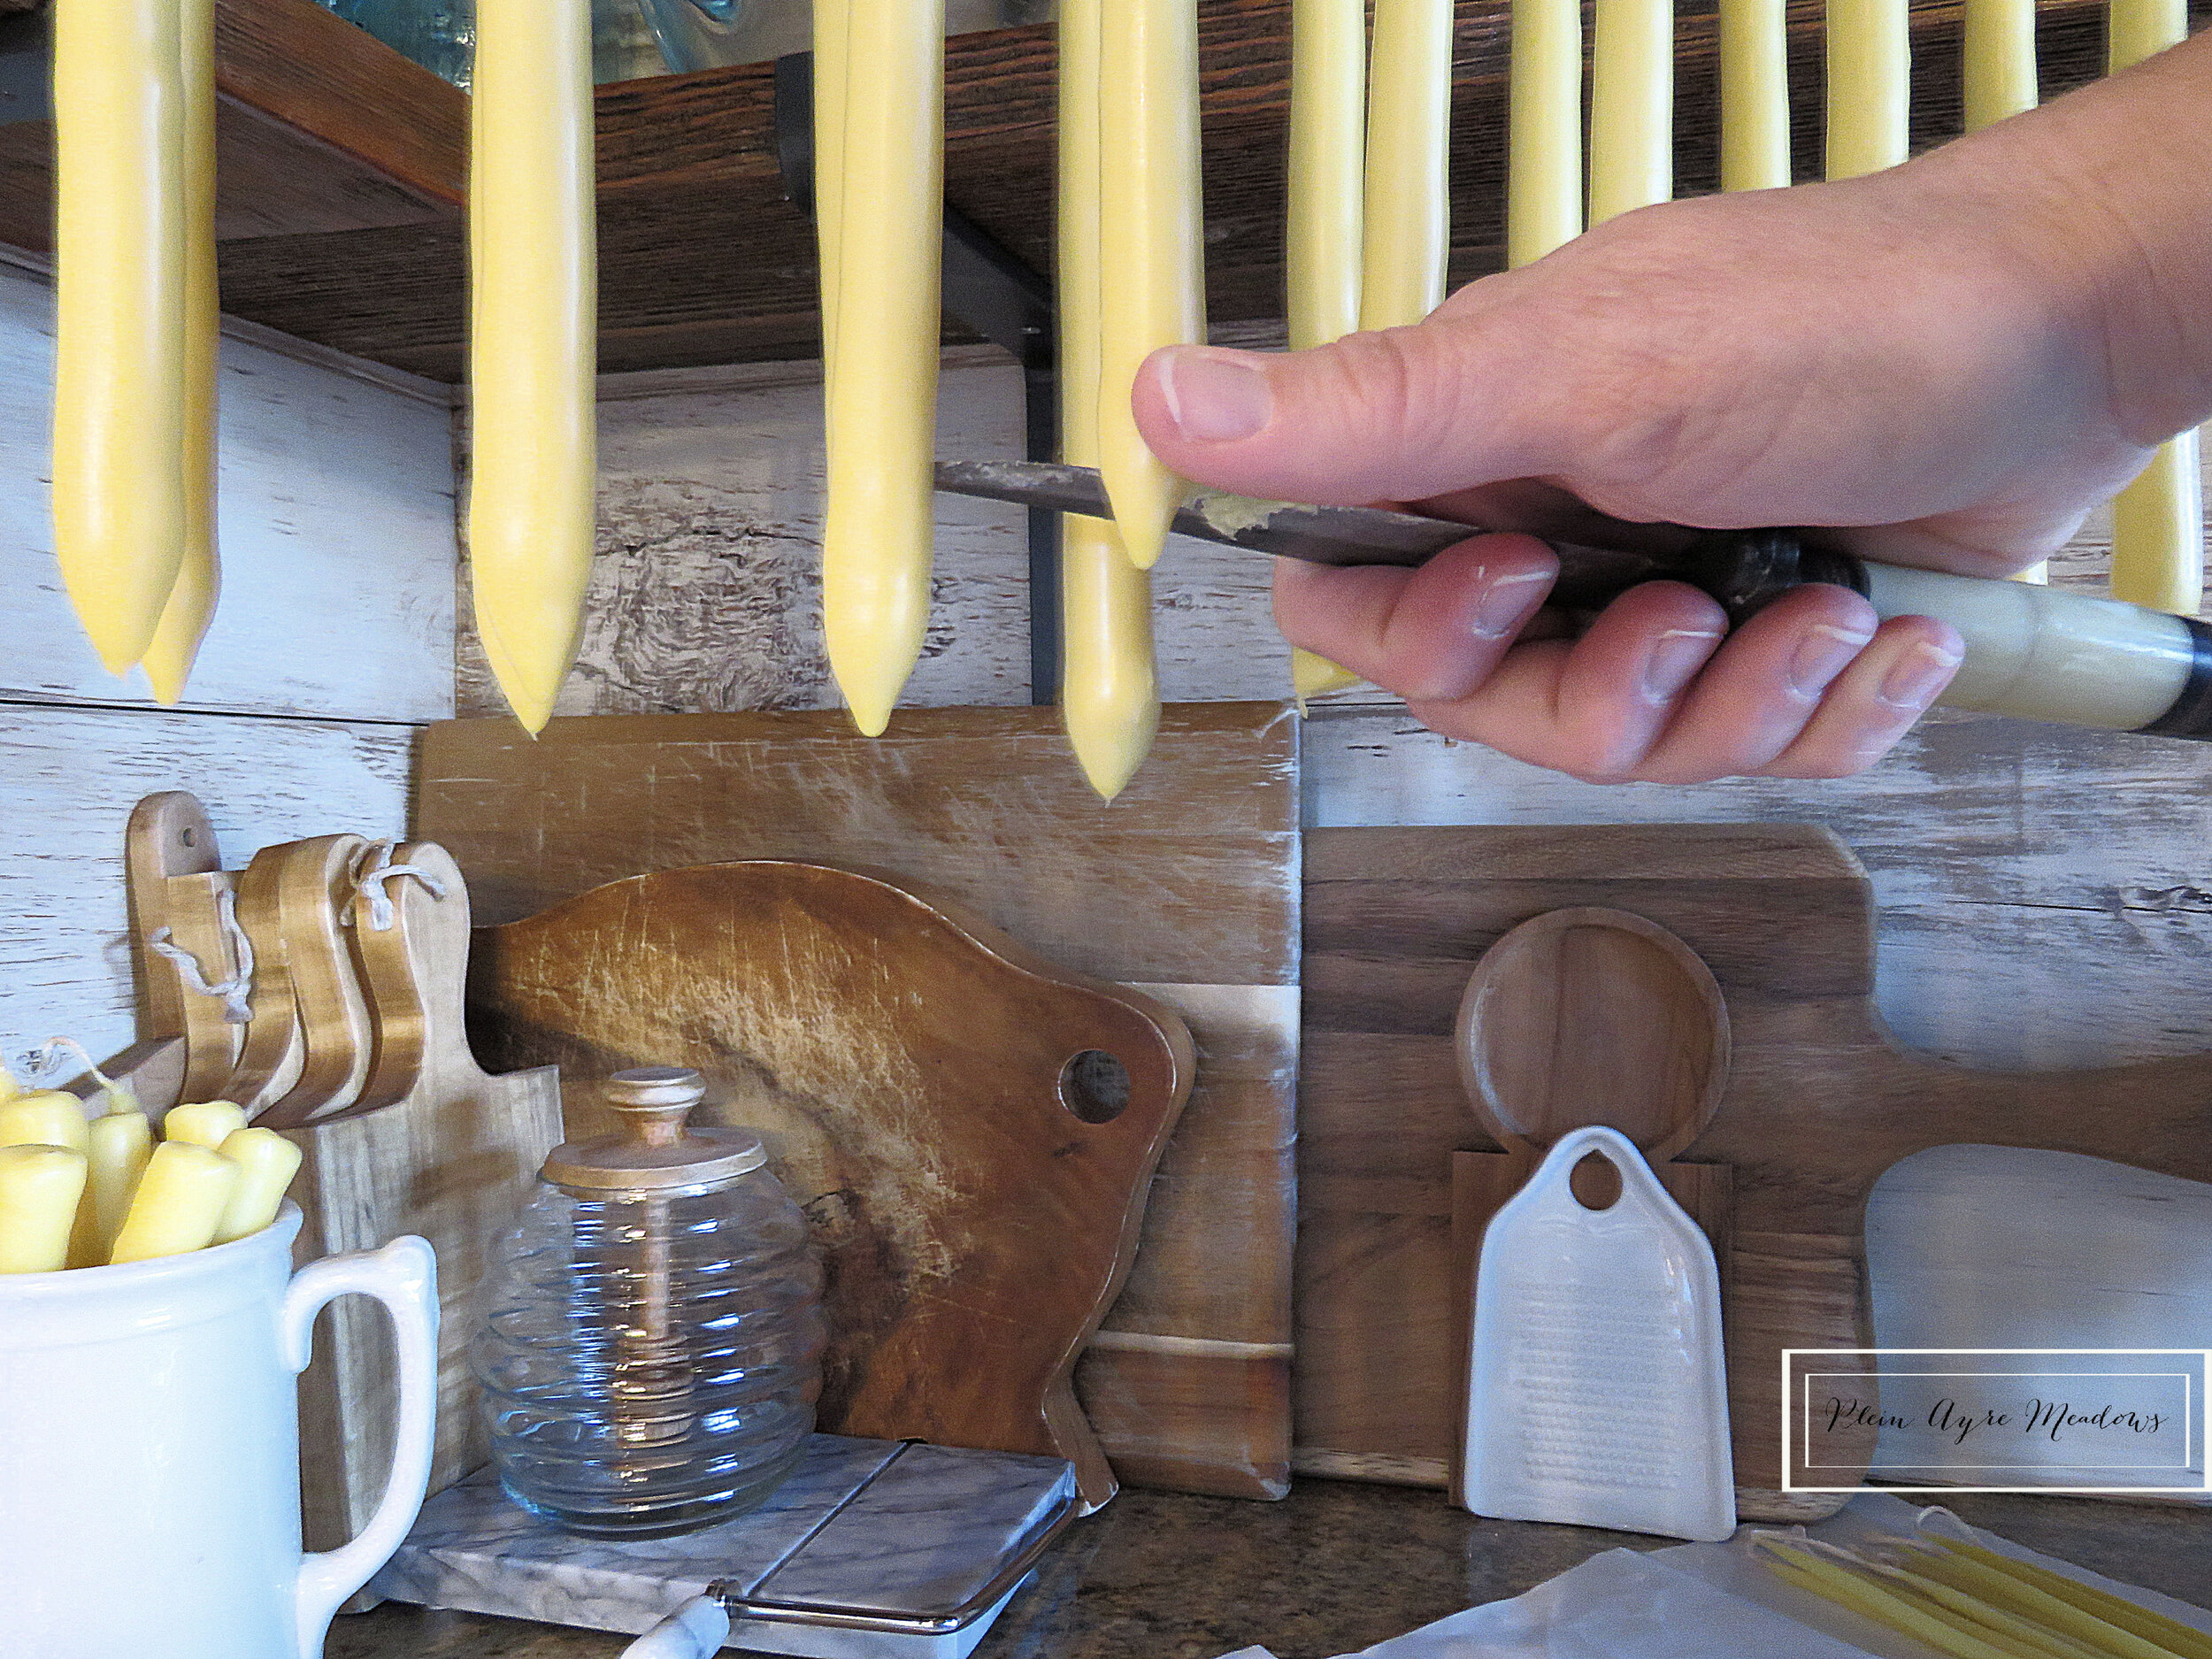
#5 | as you can see in the photo above the candles start to get a pointed end when the wax runs and cools on the bottom. take your knife or scissors and cut the bottom off. be careful not to cut too much off or you will expose the wick. but if that happens, just take some scissors and cut the exposed part off.
#6 | dip your candles again 1-2 more times. then grab your candlestick and see how well your candles fit. you may need to dip several more times. watch for the wax forming a pointed end. on the bottom.
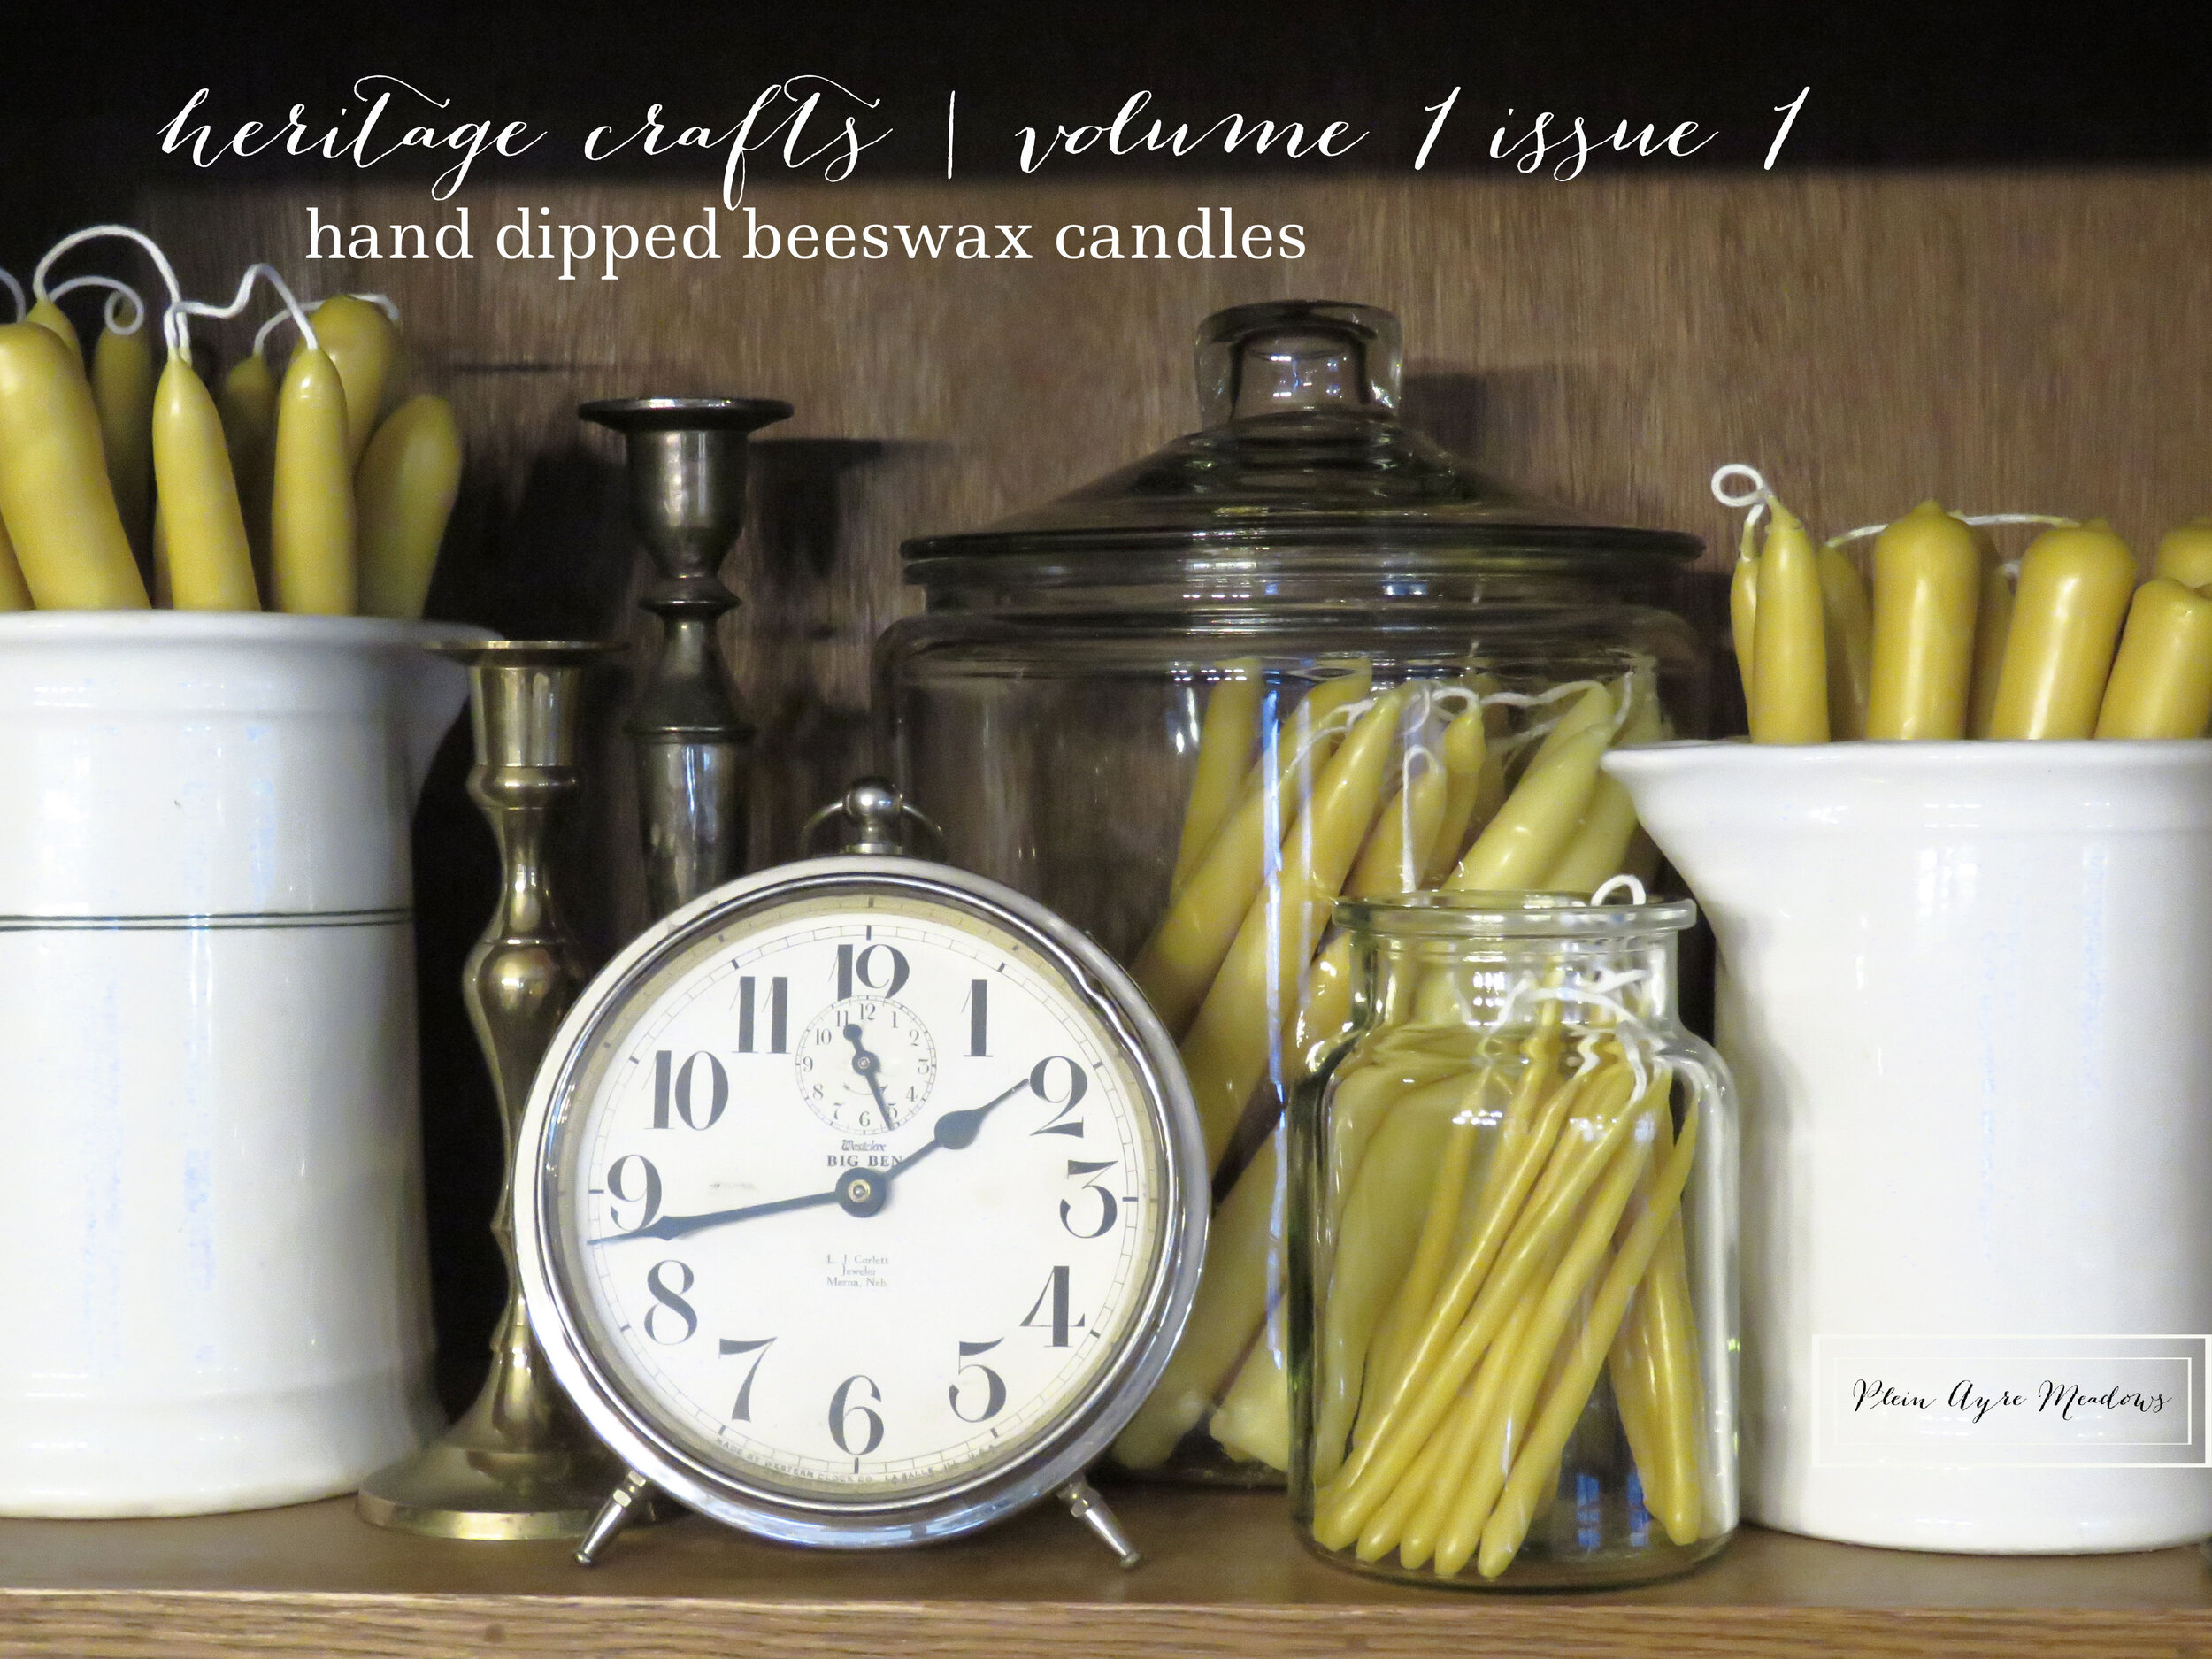
here is my batch of hand dipped beeswax candles. pretty, aren’t they! my candles ended up about 7 inches tall and 7/8” in diameter. these probably took anywhere from 20-30 dips to create. burn time is roughly 4-5 hours. i do let my candles cure for about 24 hours before i use them and do notice a longer burn time when that cure time is allowed.
now… if you run out of beeswax to melt and your level of melted beeswax is too low to create the taller candles, you can either make shorter candles, or even a set of birthday candles. for the birthday candles, you will need a smaller wick like a #5/0 size. this way they don’t burn too fast. or you can just keep your wax in you melting container, let it cool, and store it for the next time you want to make candles.
i hope you try this! it is also a great craft to do with your kids. just watch out for warm wax and little fingers.
and remember…always trim your wicks on your finished candles to a 1/4 of an inch and never leave a candle burn unattended.

