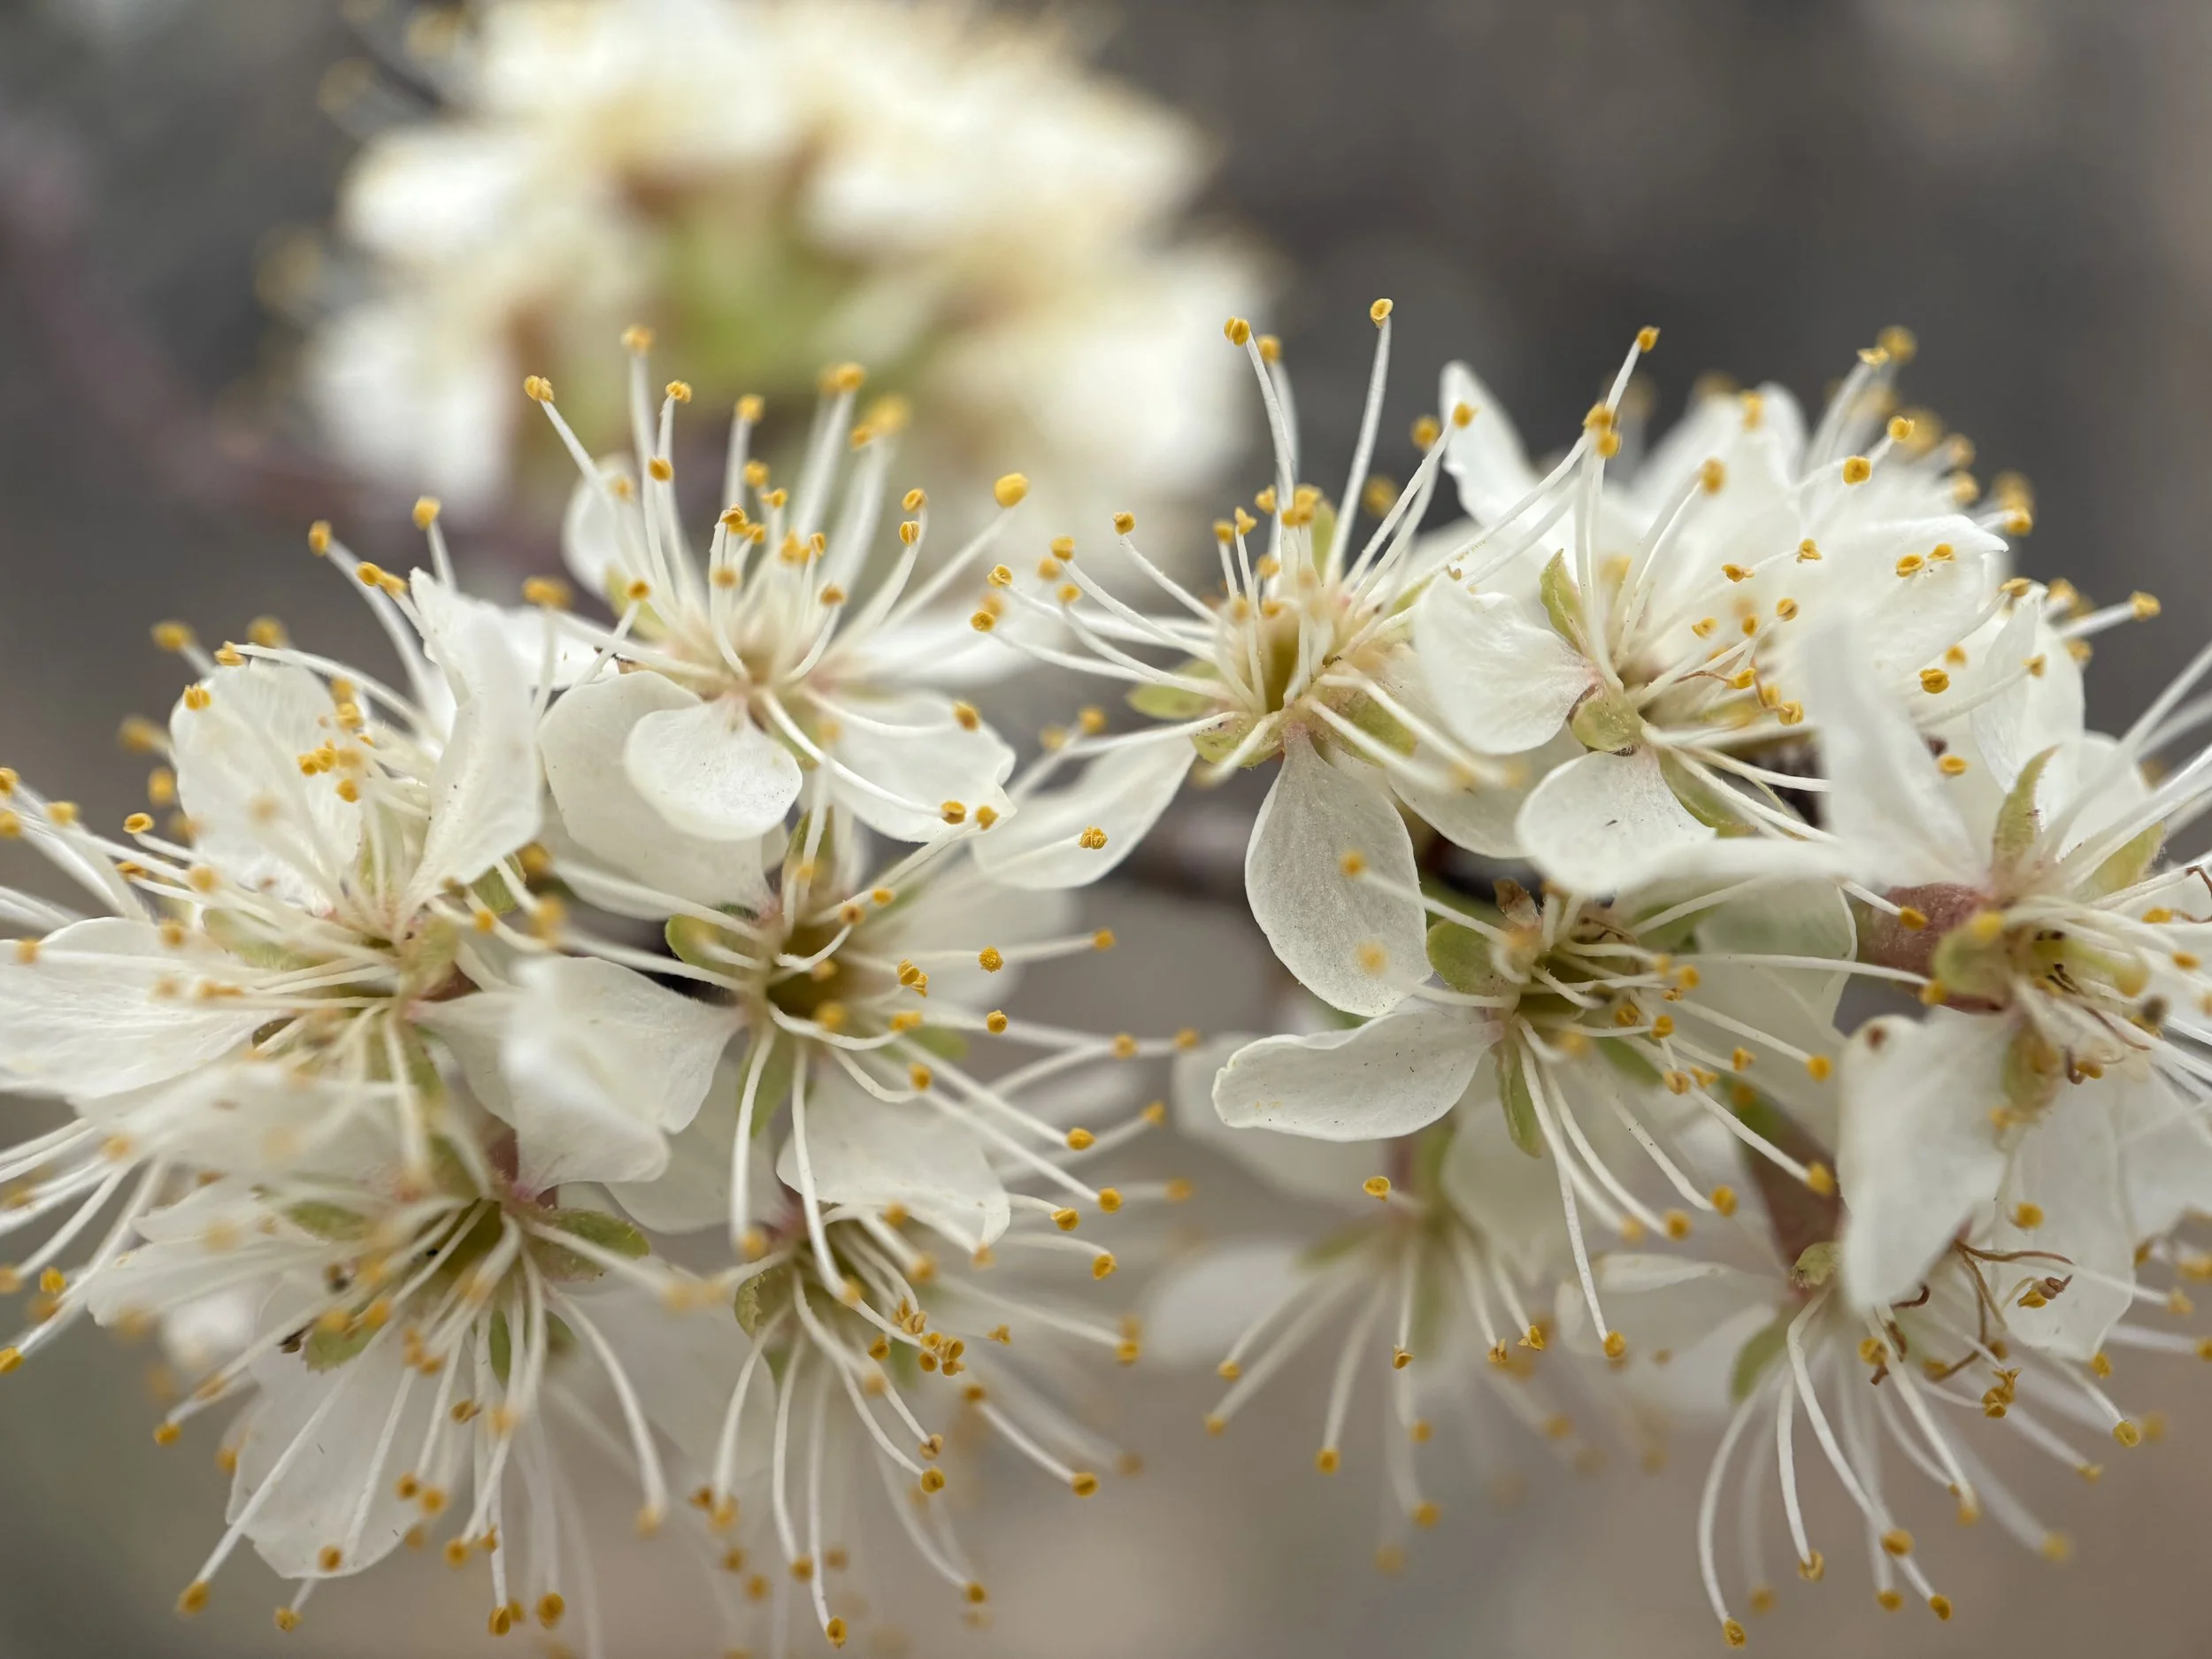
slow living

diary of an artisan | journal entry #1 | hello....it's spring

wild plum blossoms

i brought some branches with blossoms in when i found out we were in a freeze warning.

spring has found its way here. though, it has felt like we went from the cool, damp, warm colors of autumn right into the soft pastels of spring. skipping winter all together.

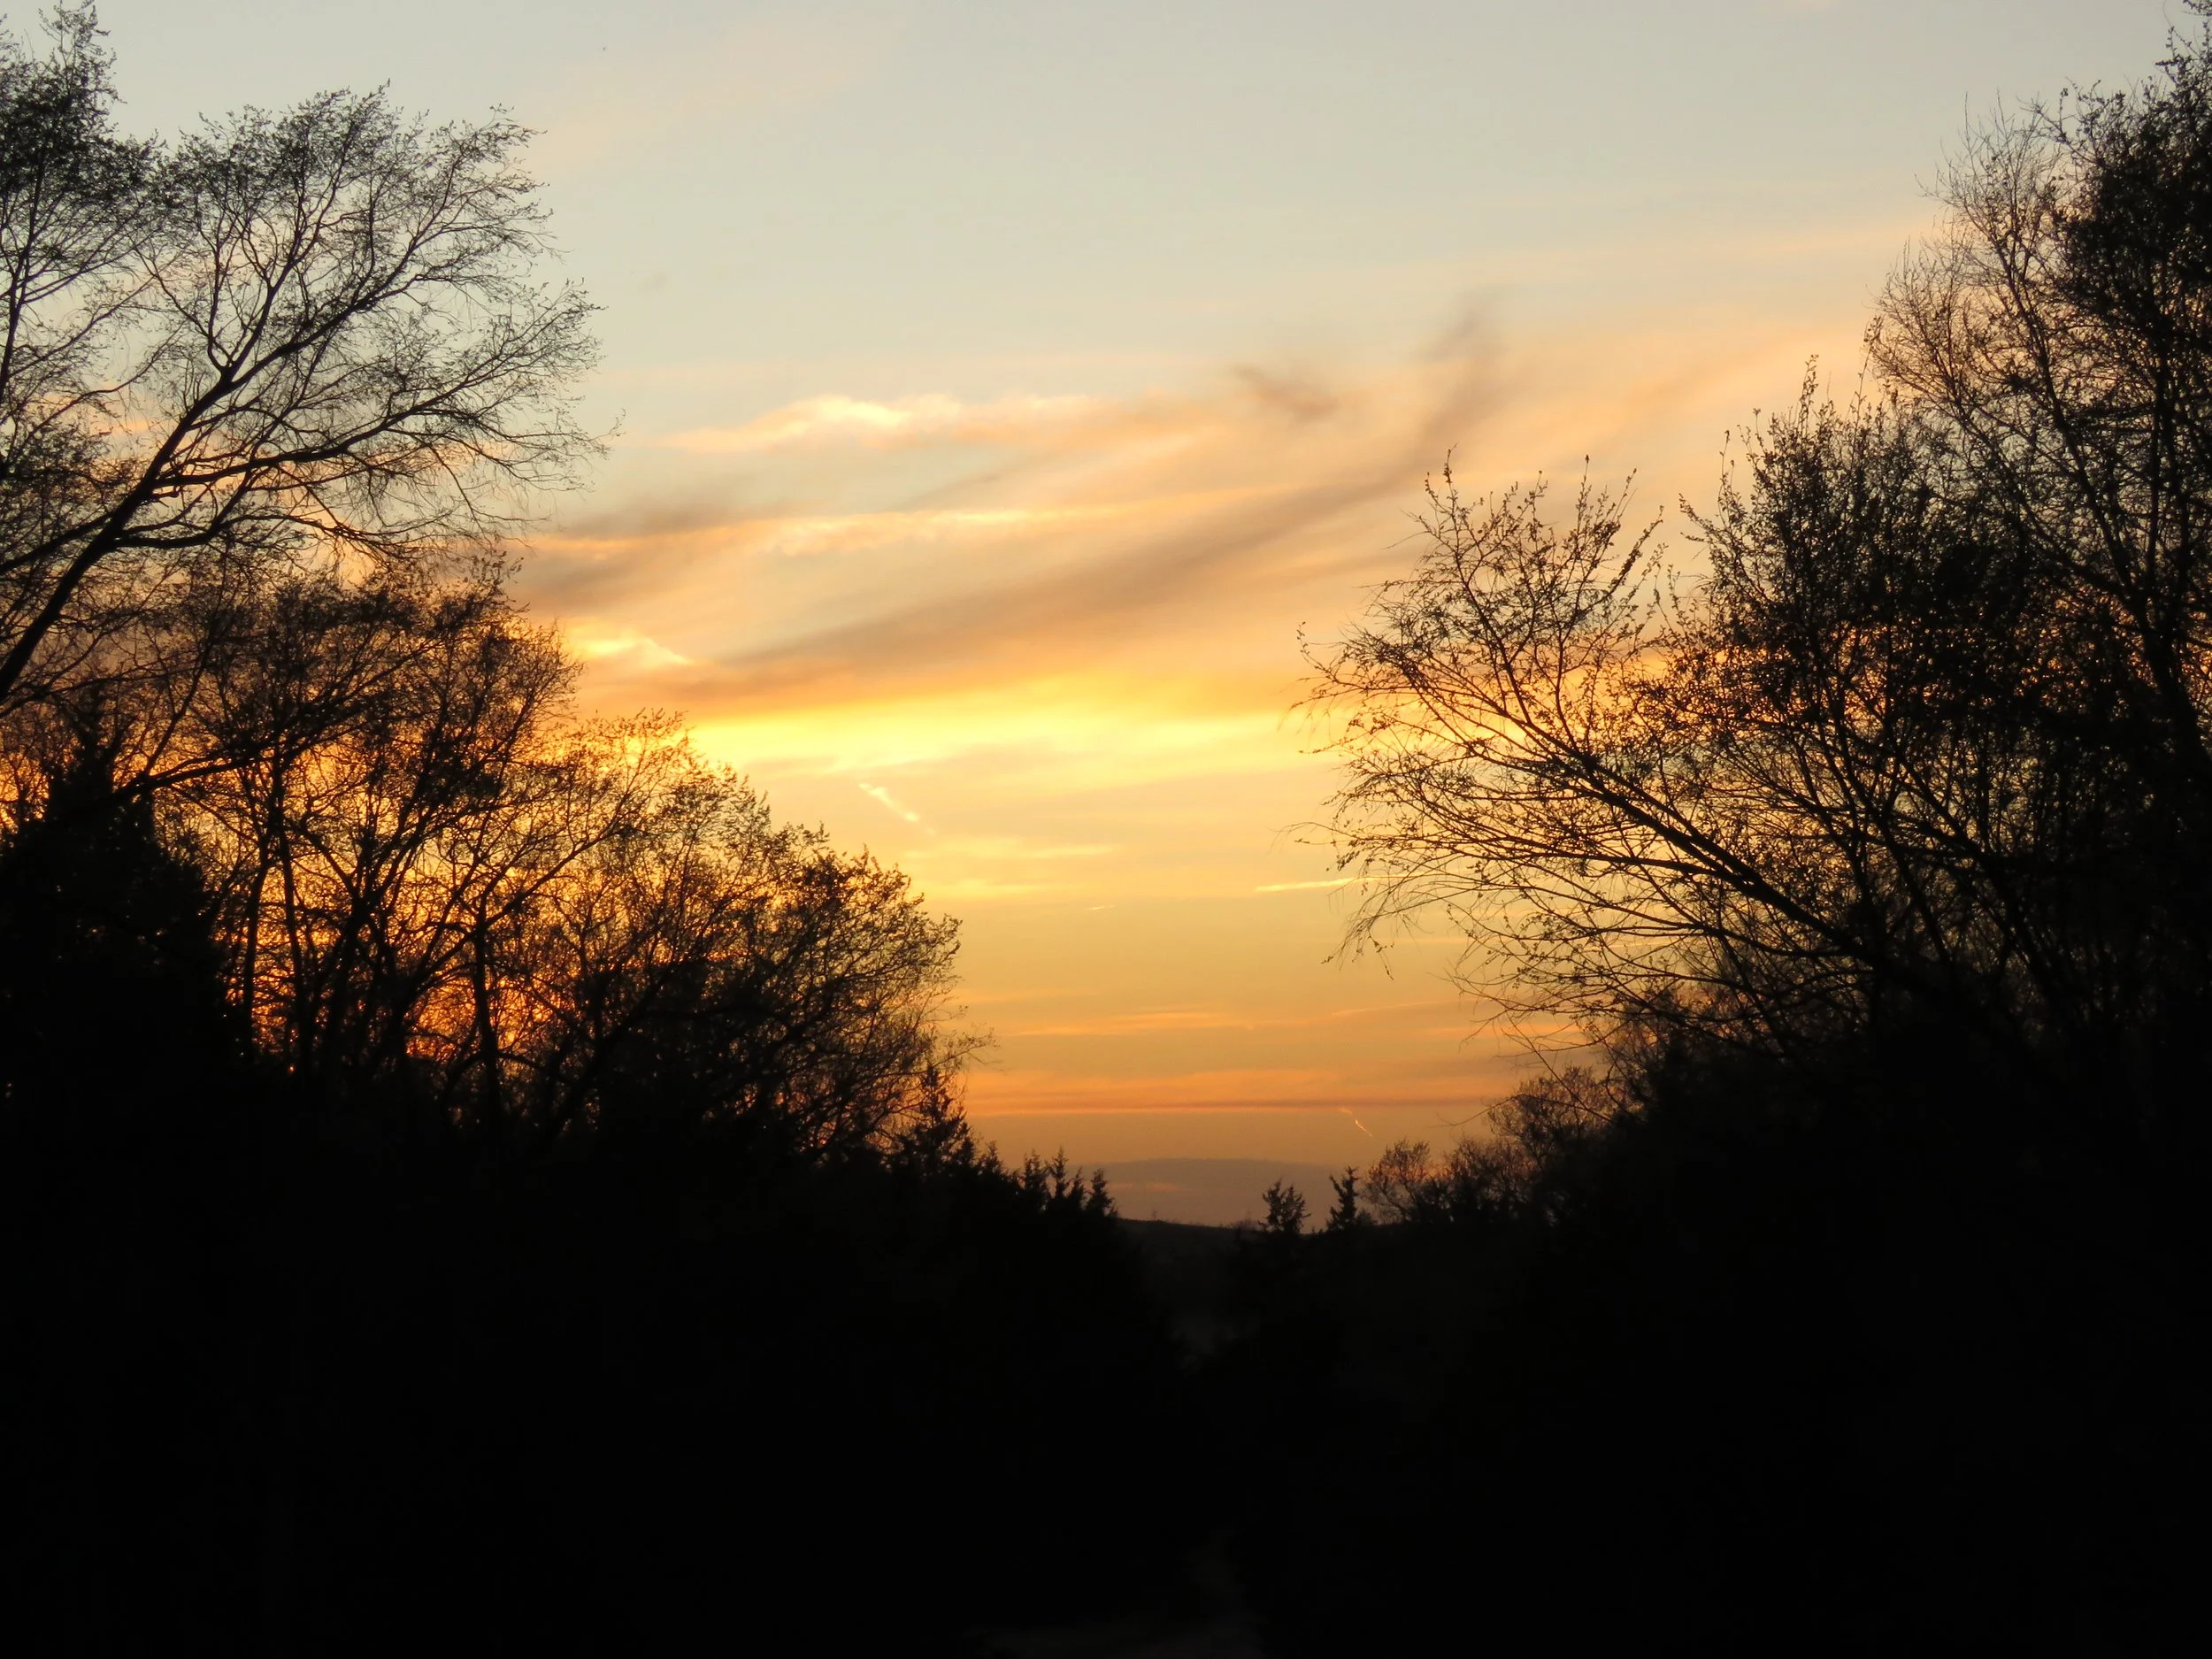
sunset at the end of the road

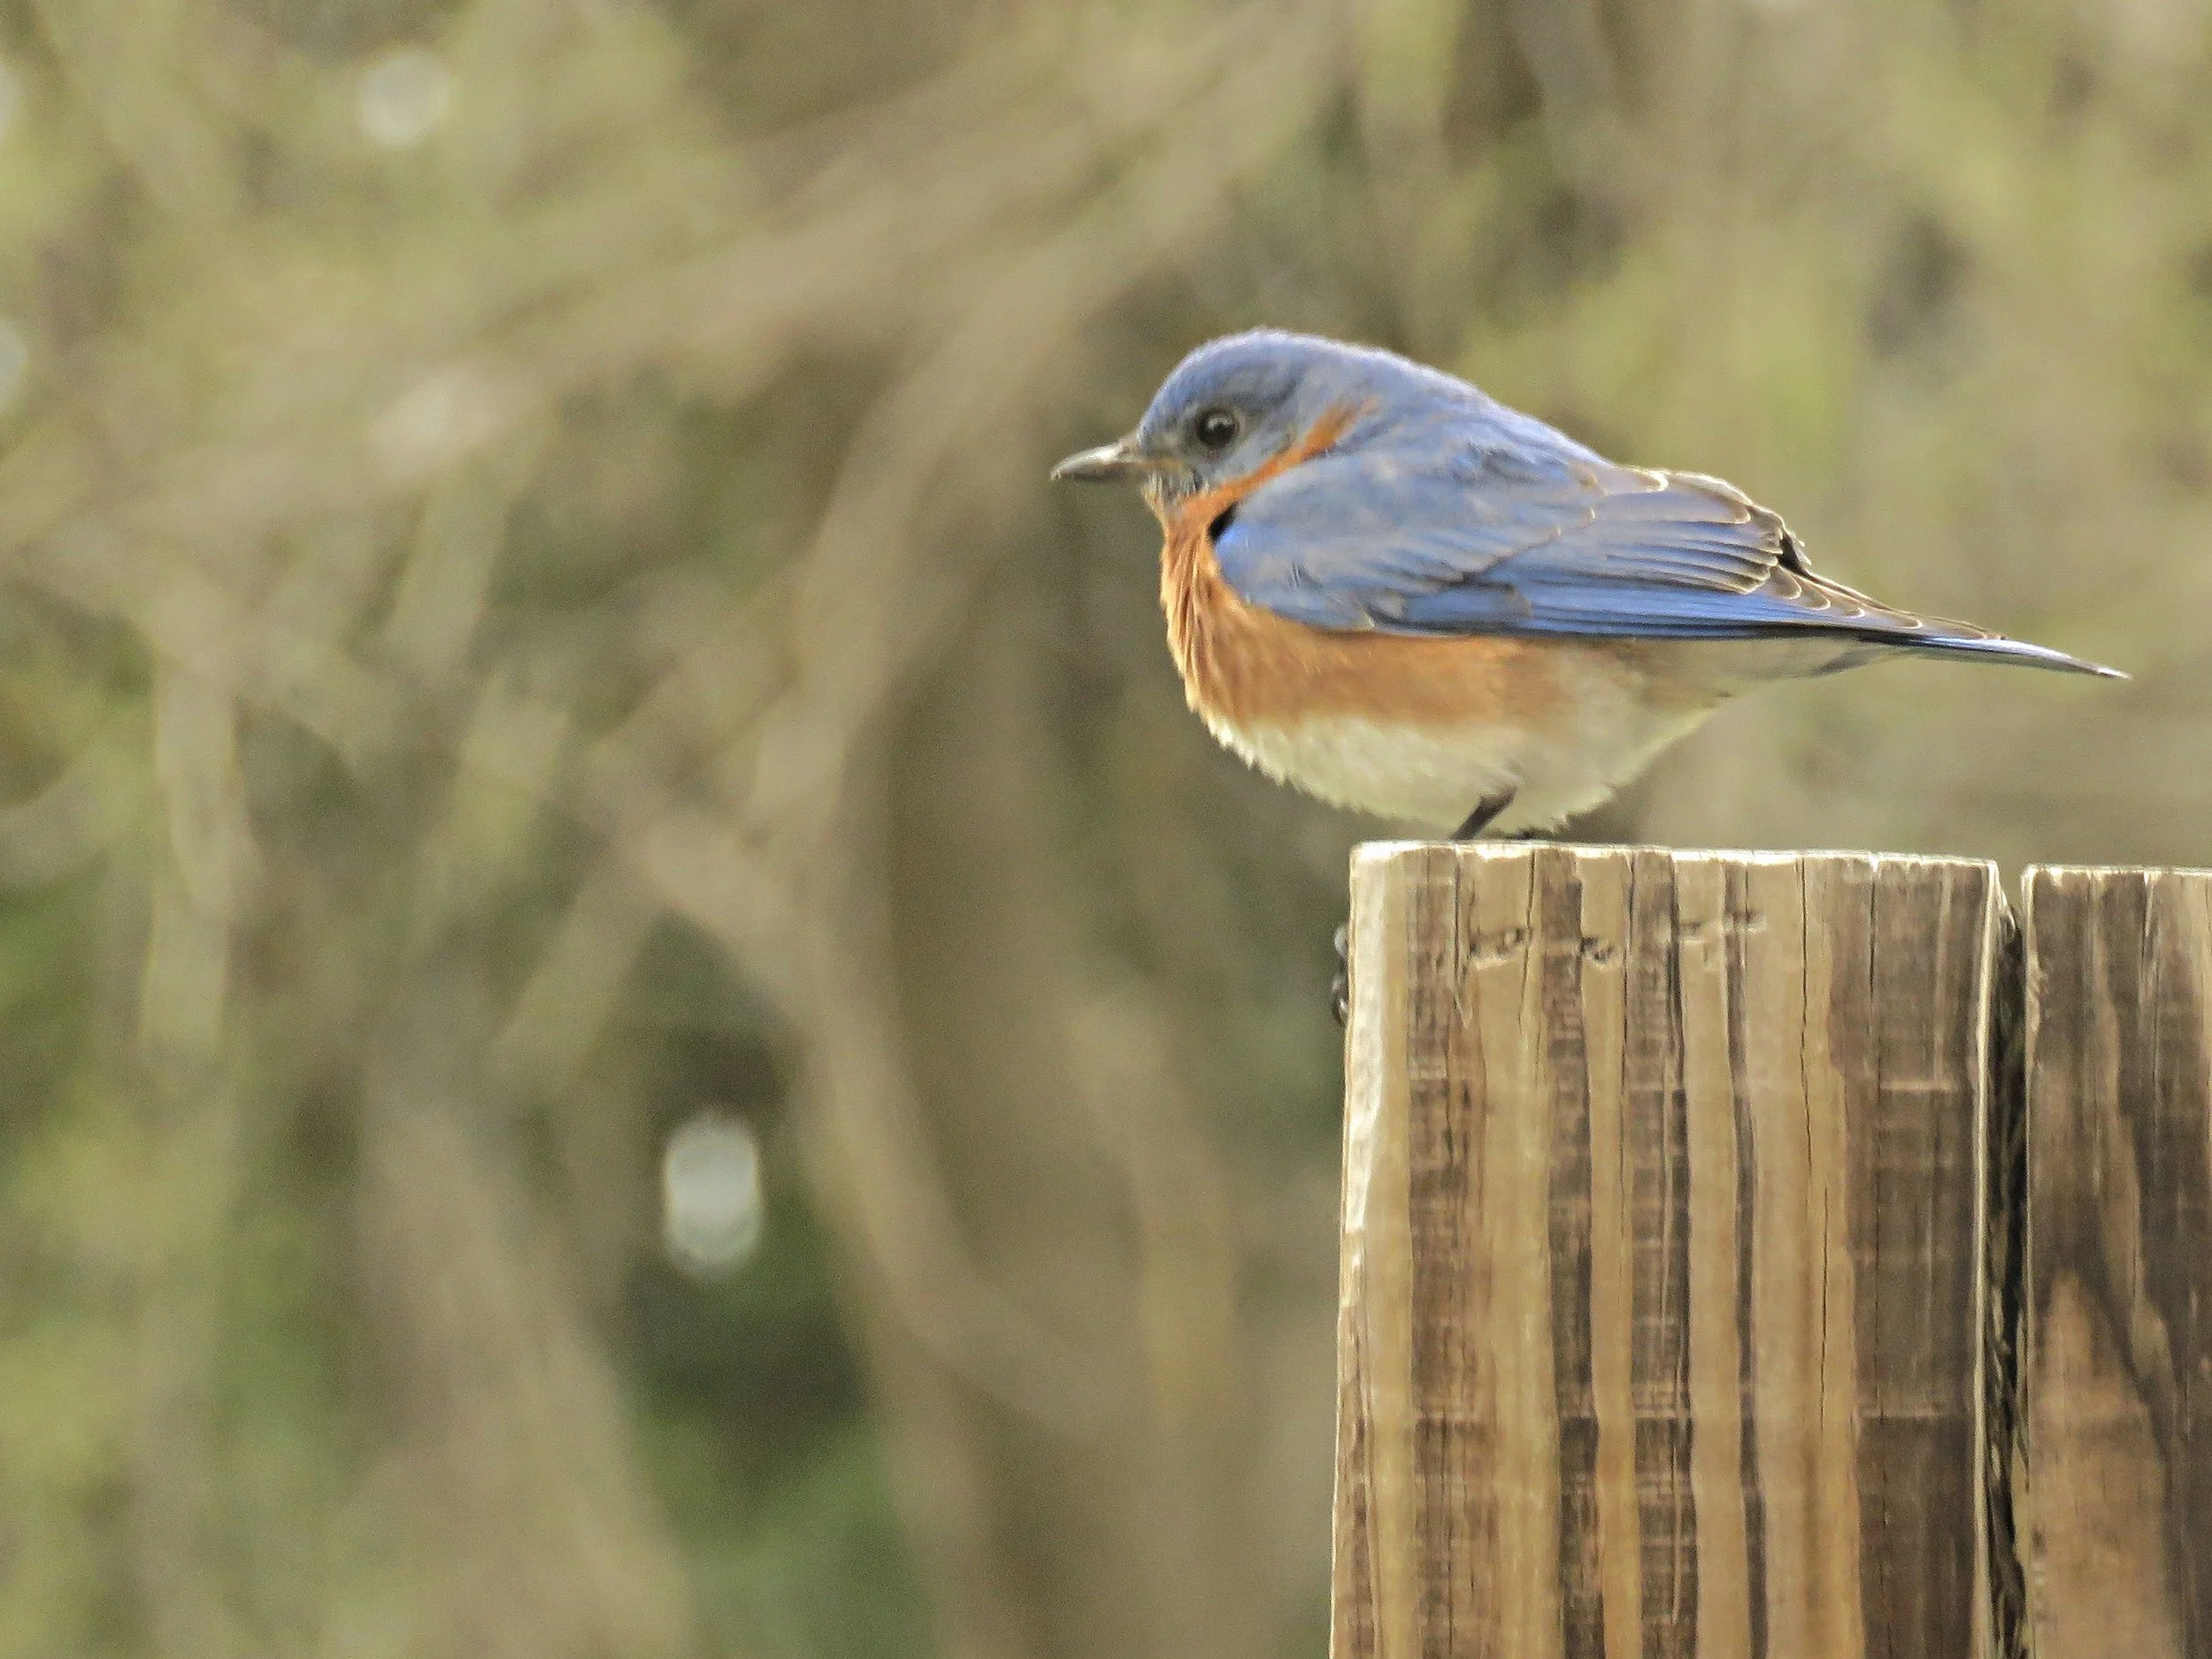
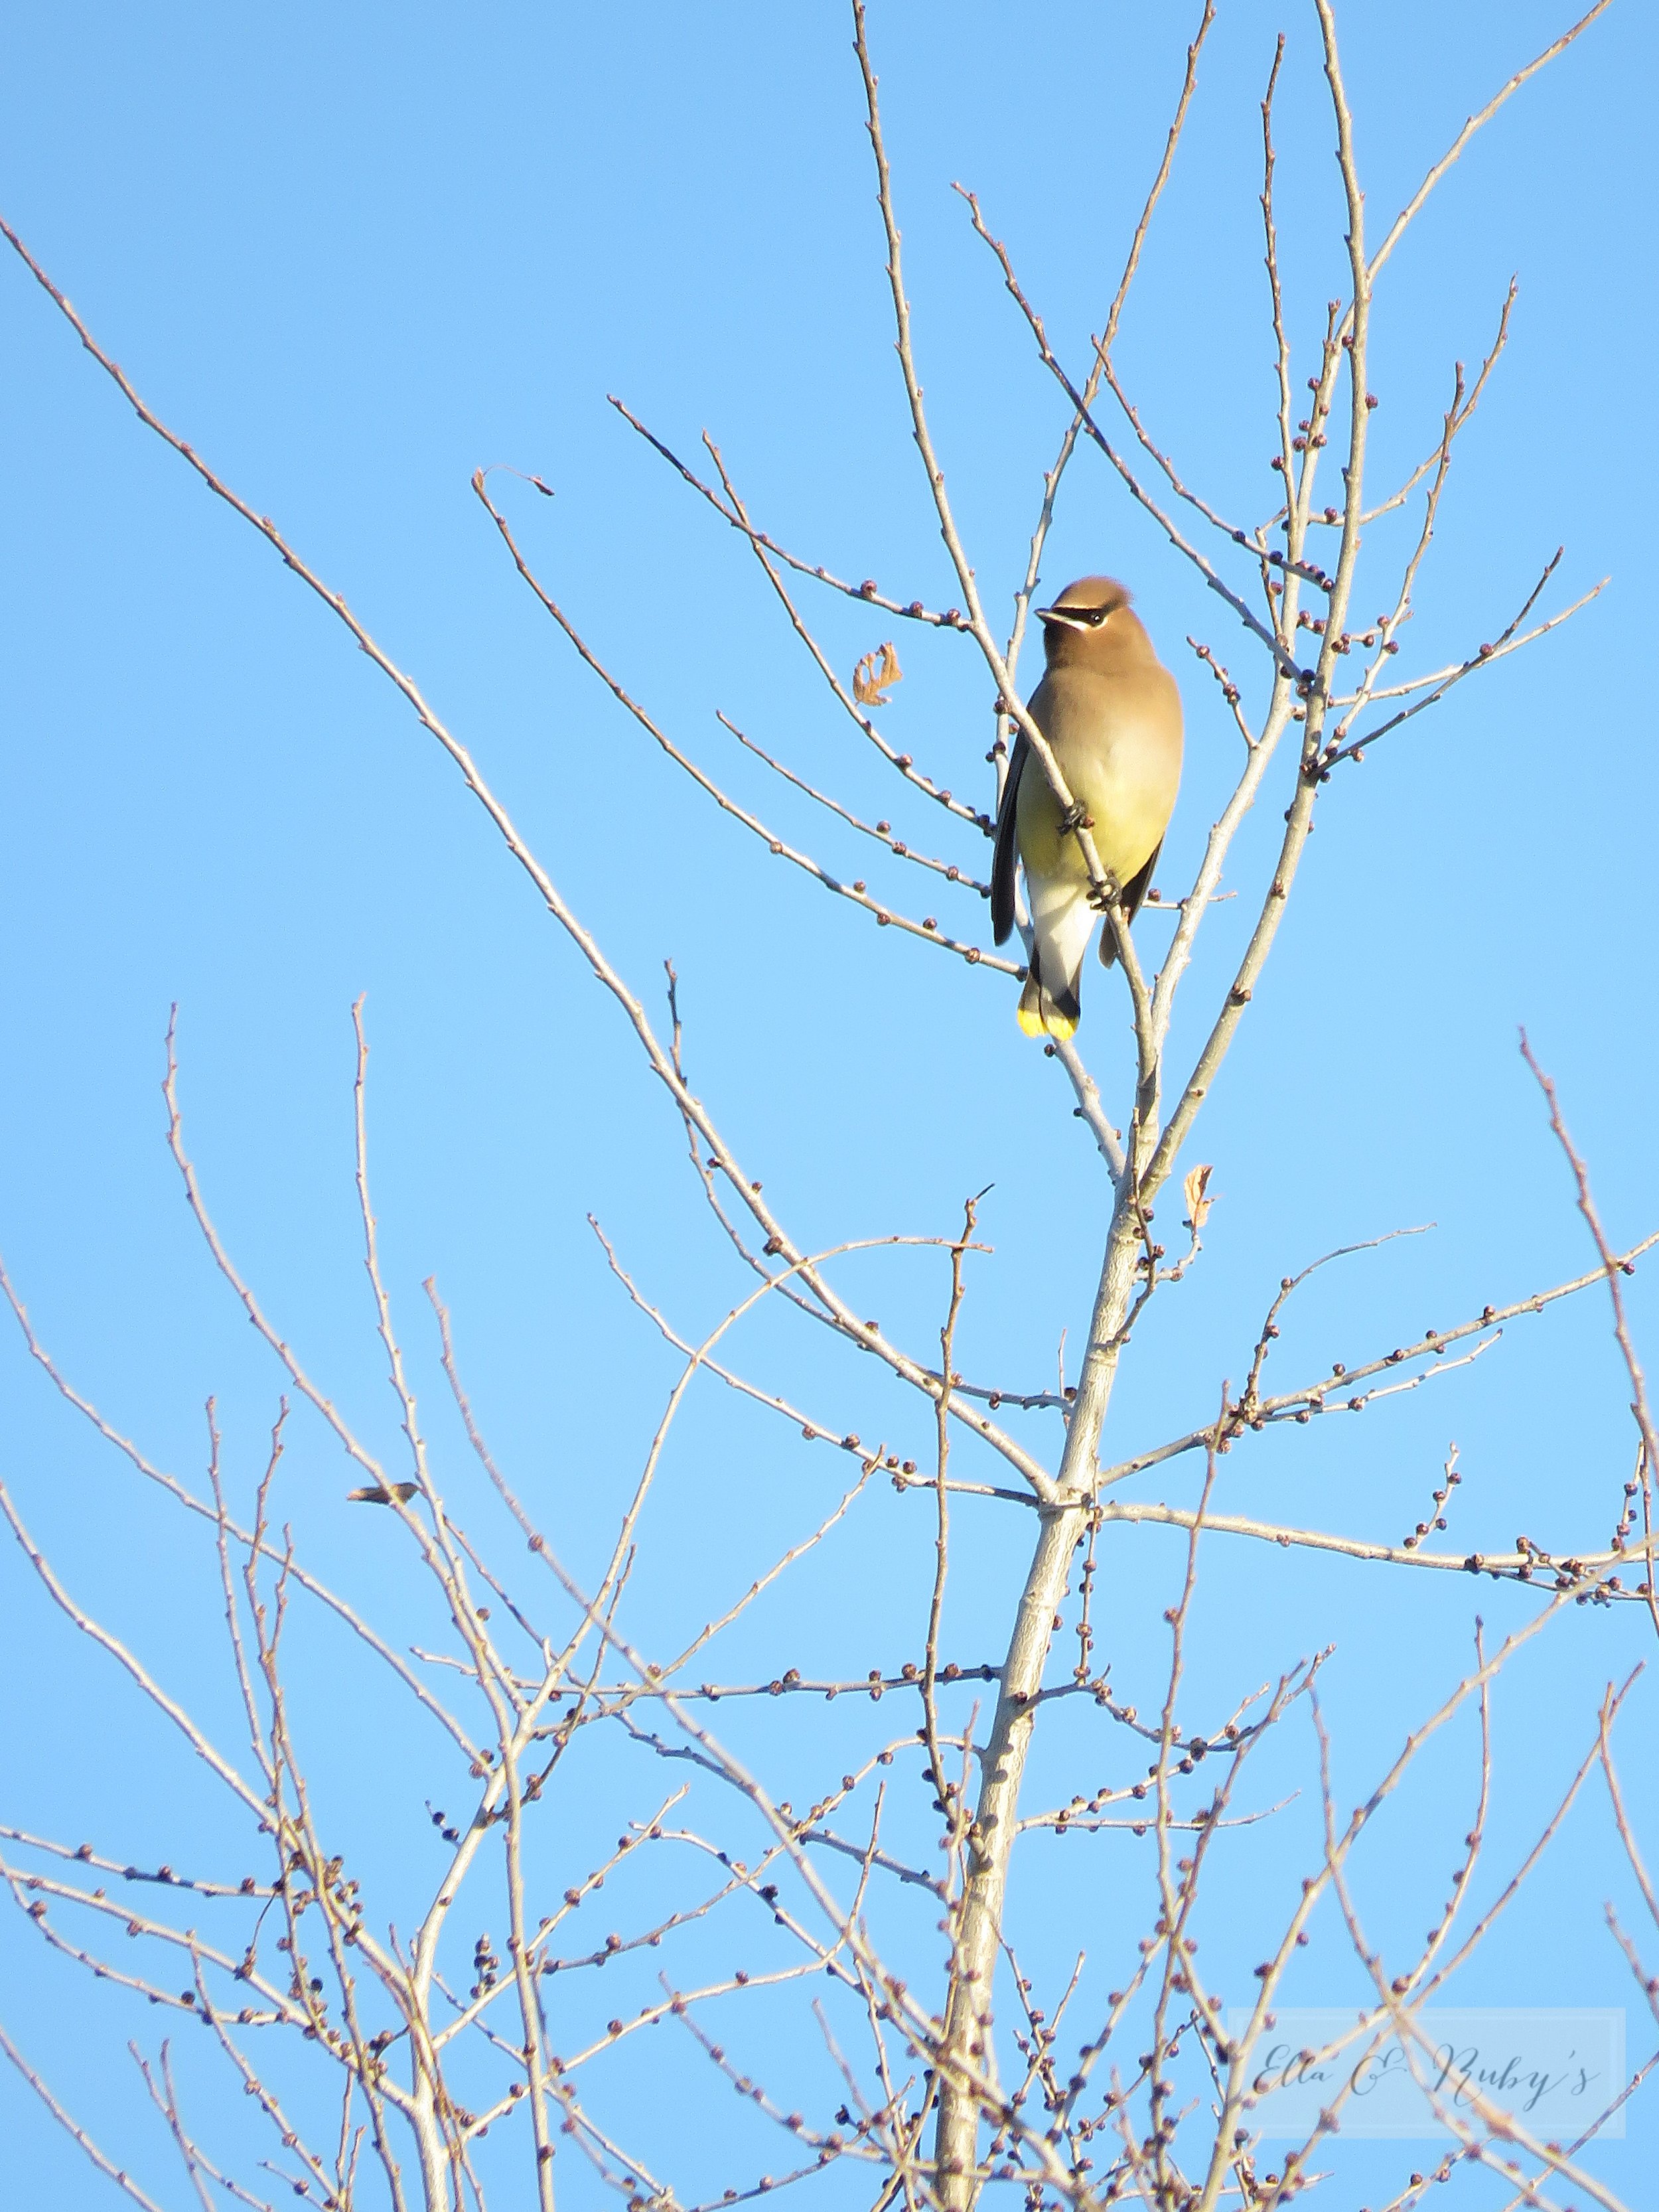
my first visit from a bluebird

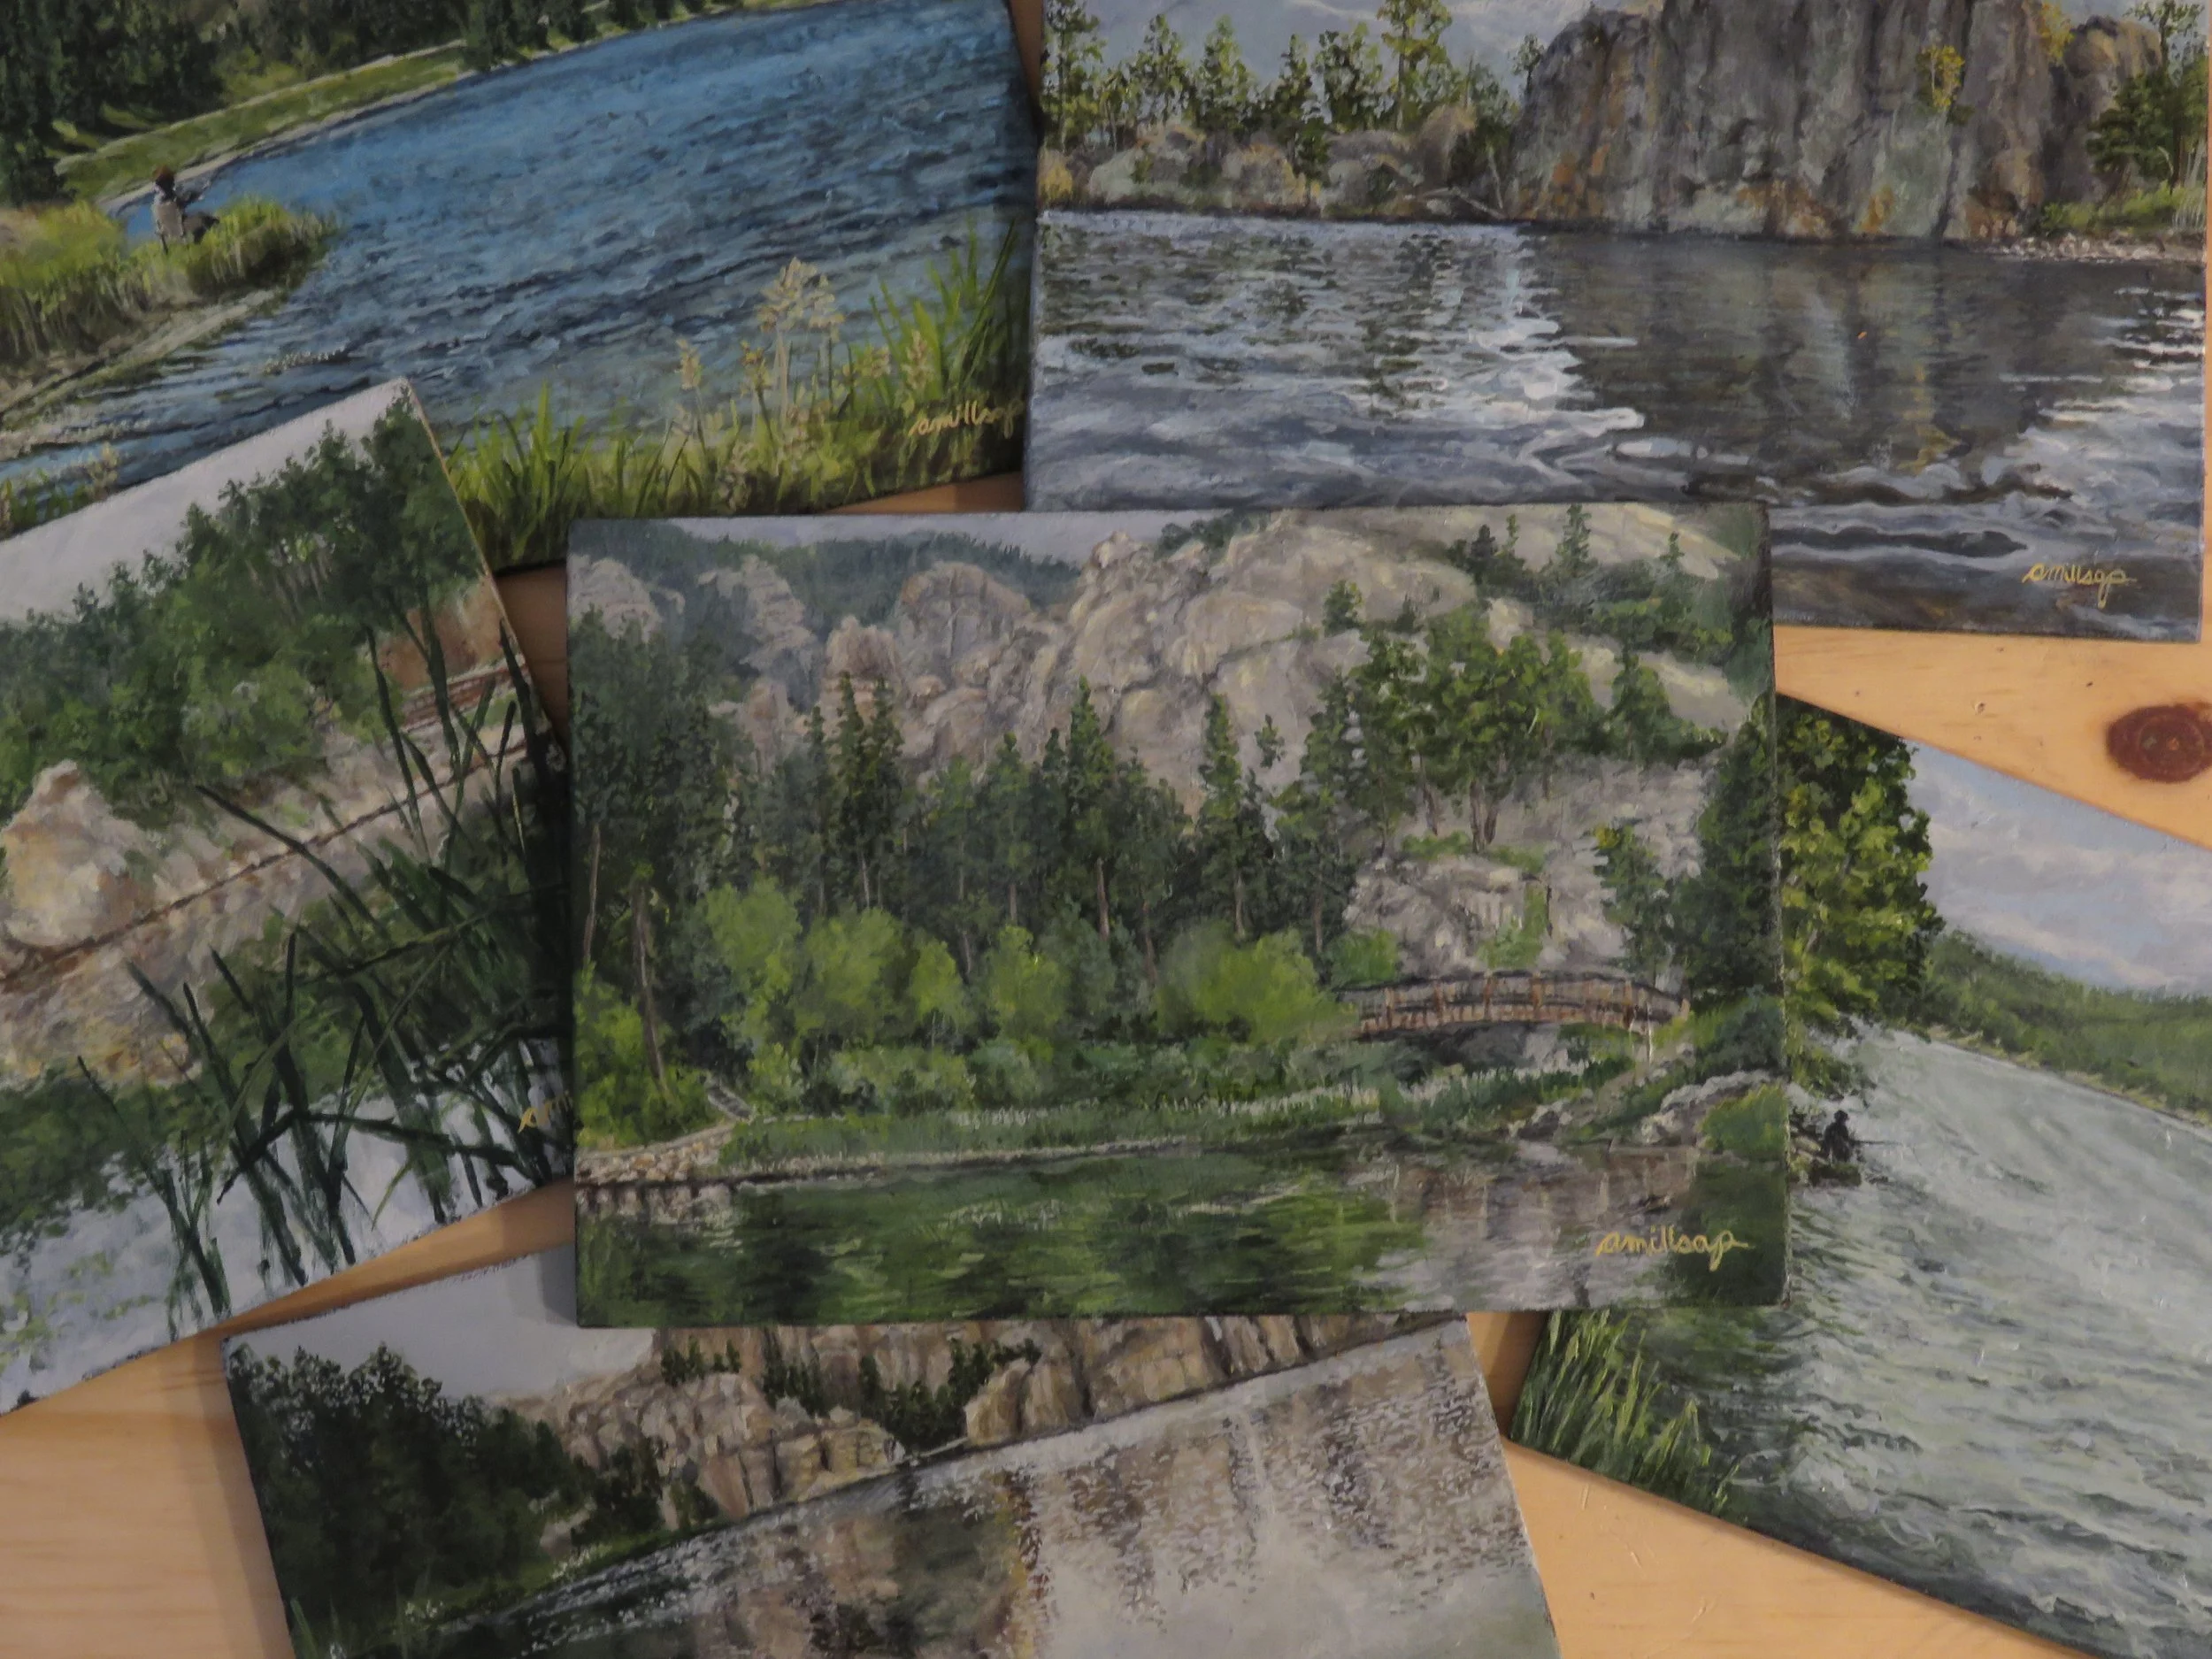
my growing collection of small paintings.

i am enjoying watching sunsets now that the weather permits me to walk at dusk to witness the stain glass effect the clouds have with the darkened bare branches of the trees.

the past several months, i have been working on a collection of small paintings of the lakes in the Black Hills of South Dakota. and while that might not seem like much. this is a sign of victory for me. i have shared in the past about my struggles with anxiety. many years ago, i had my first panic attack while driving back to the farm from town. so with that, depilating anxiety and unrelenting fear had became my normal. it first stole my driving, then stole my ability to create. or more specifically, the joy i found in creating.

however…

this week though, is proof of my long, hard battle fought. i am not without scars or battle wounds. i still fight anxiety…it can sneak in when i least expect it. there have been plenty of, tears, frustration, and plenty of prayers, but i have finally found my way back to my studio. and have found that joy in creating. i am learning to think differently. i have learned that i need to be actively searching for beauty. because with beauty comes hope, and with hope, peace. and with peace… ultimately joy.

so that is what i have been doing. searching for beauty. in the place that surrounds us. in my creativity.

in myself.

i am also learning.

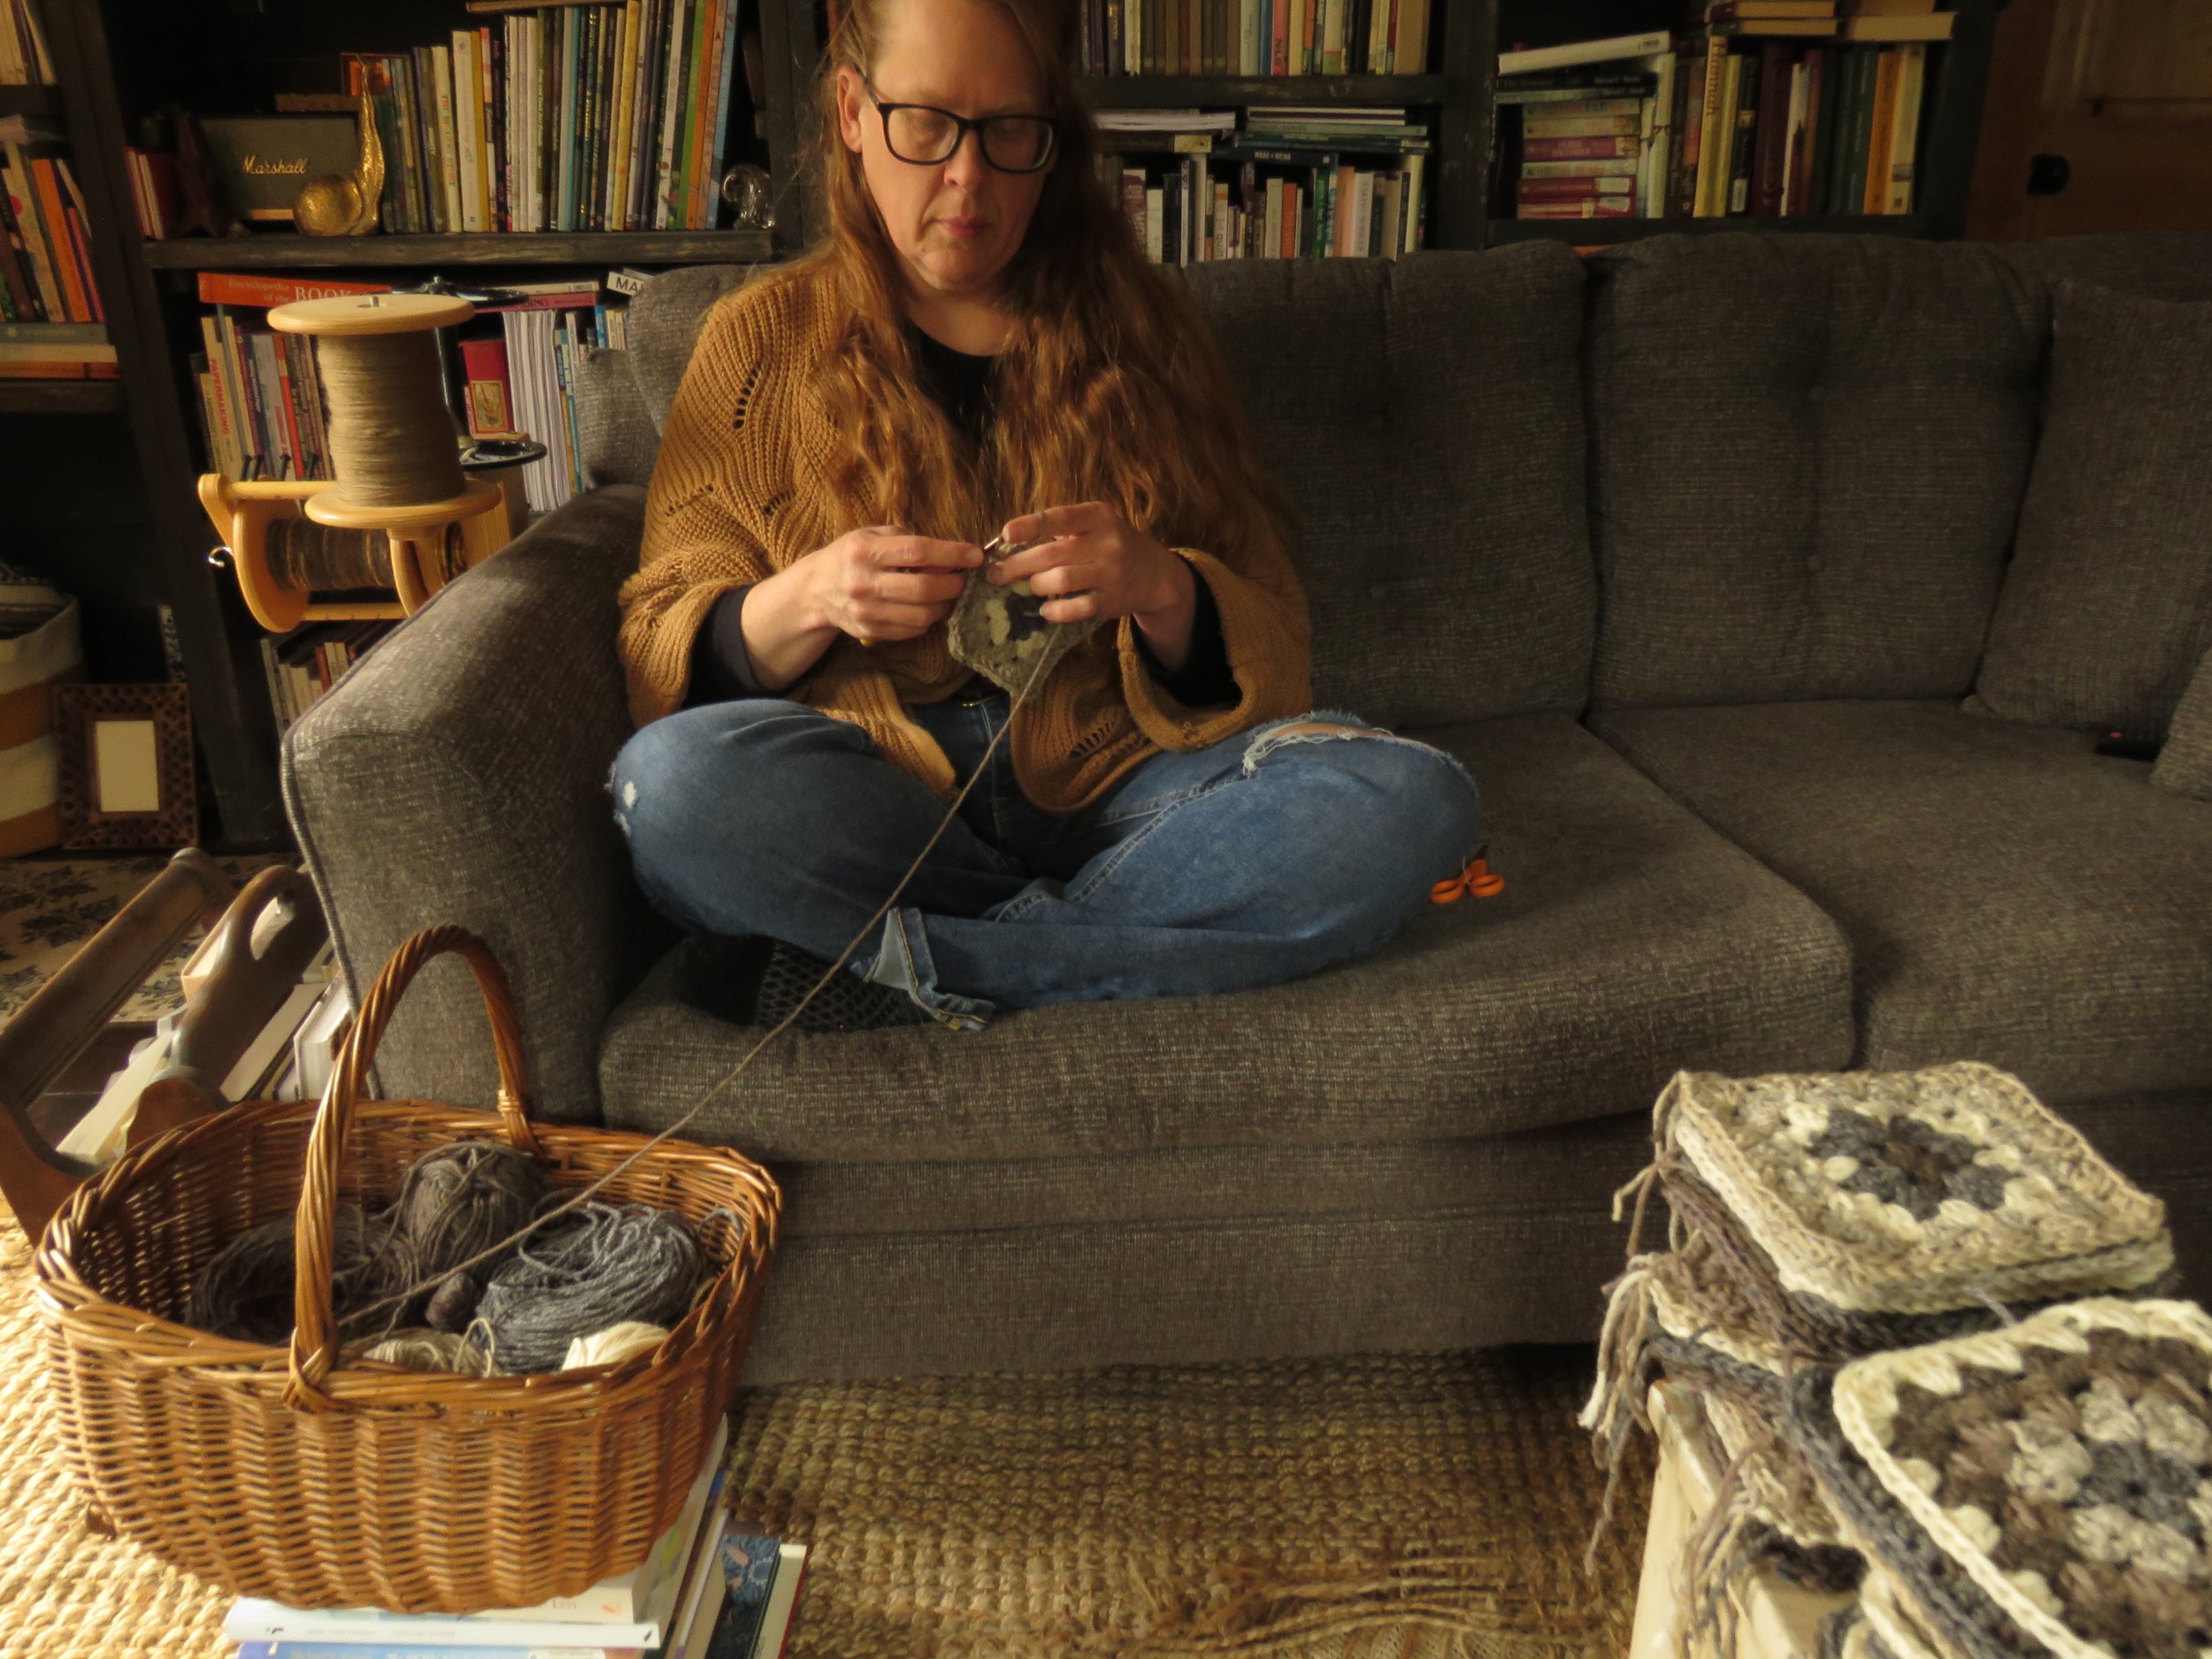
with my physical limits, i have learned that i need rest. my muscles and joints don’t appreciate being in one position for long. it doesn't like sitting in a chair with my feet on the floor. nor standing in one position for too long, such as doing dishes. so i take small breaks, sitting cross-legged on the couch. but my mind can still go in many different directions. i still struggle to get it under control and out of worse-case scenario thinking. so i need something to do in order to keep my mind and hands busy.

so i thought i would give crocheting a try.

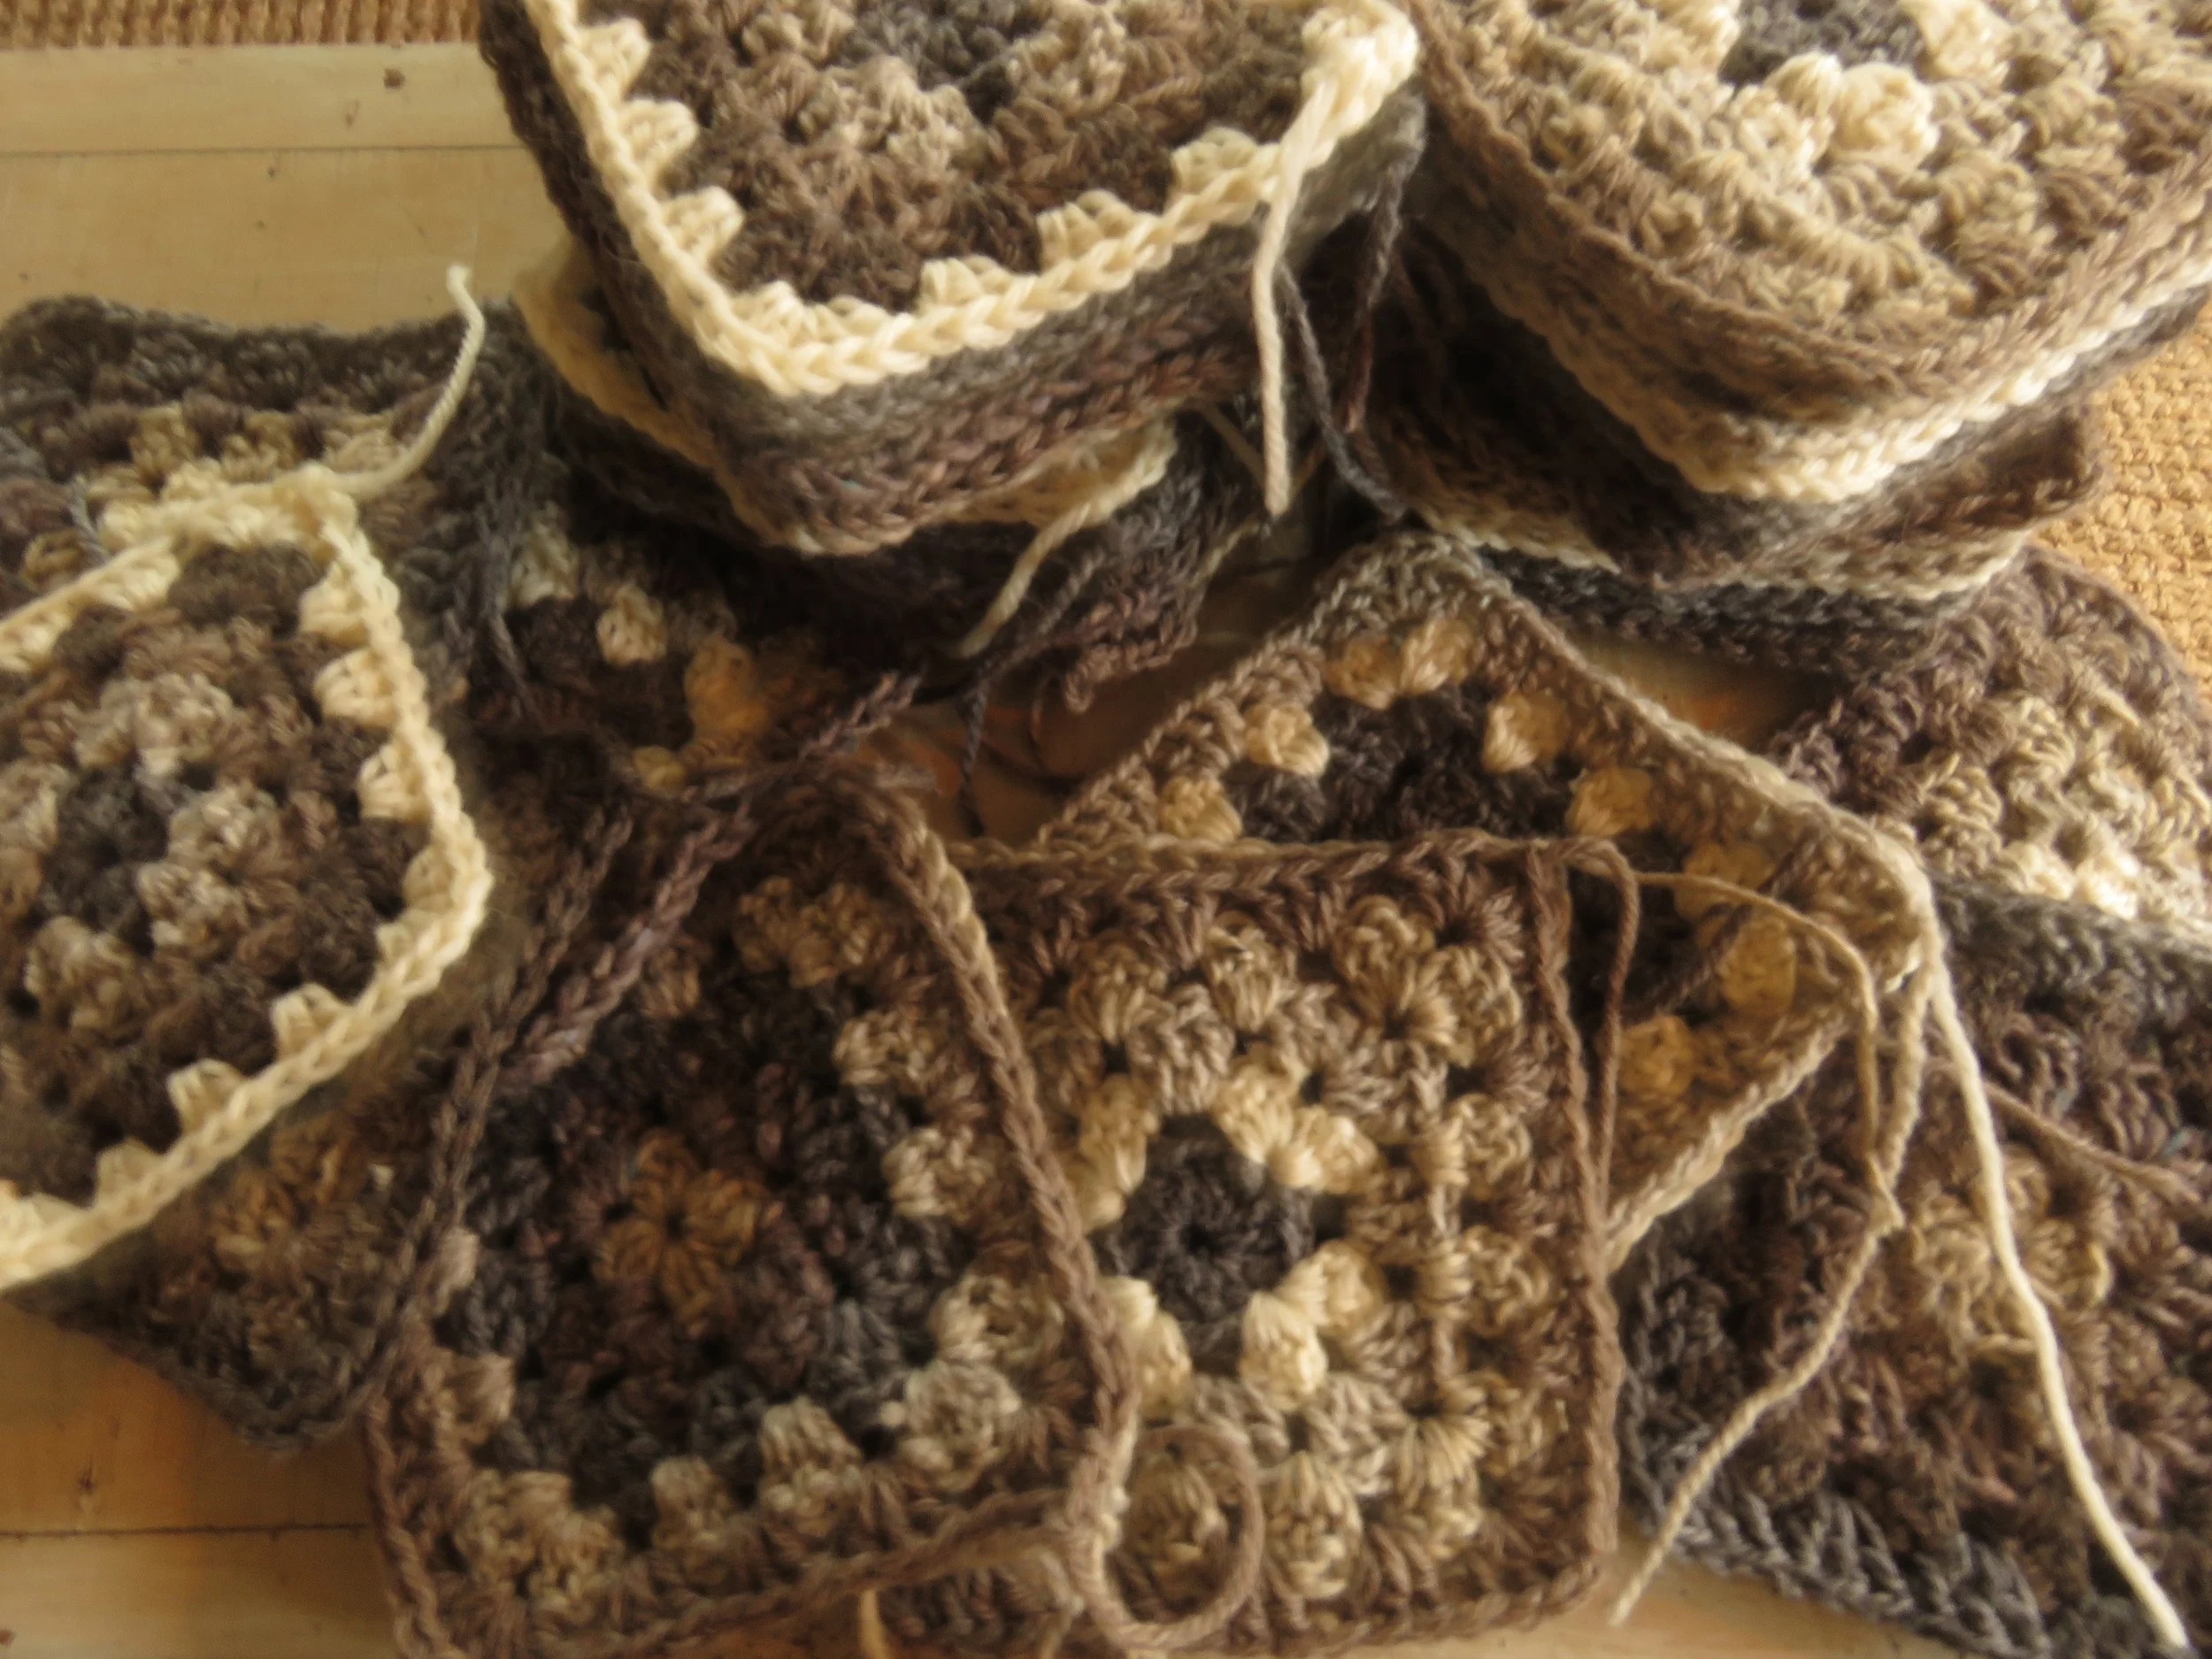
i found some yarns in my stash that i have had for several years. i had bought them with the idea of weaving something. but instead, i found better yarn to weave with, so these just sat hidden away in a basket.

i have been wanting to try my hand at granny squares. so i thought this would be a great time to start. i found seven different wool yarns. ranging from a warm cream to grays and browns, to a steel blue. i have come up with fourteen different color pathways. my plan is to crochet enough for an oversized cardigan that i will be able to wear when the weather turns cooler again this fall.

i have noticed that with this learning of a new skill, my attention span has improved slightly. i begun to notice that i couldn’t focus on a task like i use to. i’m sure that partly that is due to my age. but mostly, i’m wondering if the world we live in is to blame.

everything has become instant.

food from a microwave. and fast food restaurants. to instant texts, messages, and emails. to streaming a movie or show immediately. the constant scrolling with new information every second. we are all reachable at any given moment. the world is too loud, too fast, and too demanding. and my thought process has suffered. i have found that crocheting a simple granny square has given me a bit of myself back. i can focus on the counting of stitches. the next color in sequence. and that has helped me read more than a few pages in a book. watch a movie without my phone in my hand. and even work on a project longer than a few minutes at a time without needing to do something new.

so this is where you will find me. i will keep learning new skills to help heal my mind and body. to fight the need for instant gratification. plus…i will have something useful.

and beautiful.

a visit from cedar waxwings

journal entry

I slipped my favorite thick turtleneck sweater over my head before I headed towards the kitchen. My farmer had left earlier so the house was quiet expect for the furnace running warm. I greeted my four legged companion, wished him a good morning before I opened the front door to let him out. My garden sat there just beyond our home, patiently waiting for the sun to warm its’ ground. Spring was just around the corner and I was dreaming of sowing peppers and cucumbers and sugar snap peas. I could see in my thoughts the colors of the parrot tulips and breaded irises and daylilies pushing through the earth that would soon wake. I stepped back inside and headed back to our warm kitchen. I took out a small pot and sat it upon my favorite burner, the one in the lower right hand corner. It warms up quick and even. I was in the mood for oatmeal, my favorite during the cold winter season that would soon be over. I put a measurement of oats in the pot, a double measurement of water, and a dash of cinnamon before turning around to grab a spoon to blend it together. As I turned, a movement outside our windows, at the top of the trees caught my eye. I peered closer and realized it was from the elusive cedar waxwings that stop here on their way to somewhere else. This year is the first I have actually laid my eyes upon them, and I wanted as many photos as I could before they moved on. So I left my oats there on the stovetop, grabbed my camera and stealthily stepped out onto our porch. The sharp, bright and clear notes of a cardinal first greeted me, followed by a few robins’ songs. I slowly worked my way around the edge for better viewing. And brought my camera up as smoothly as I could as so not to scare them. Through my lens, I could see their yellow silkiness perched upon the bauble-like buds draped across the branches and against the blue sky dappled with clouds. It made for a striking contrast. Their masked eyes turning this way and that. I was able to capture them through a few clicks of my camera before they flew off. It was then I noticed that though the sun was bright, the air was cool, and my stomach let me know it was time for breakfast. I abandoned our porch and stepped back inside, and moseyed to the kitchen to finish cooking my oats. I stirred them occasionally and my nose welcomed the warm spicy scent. I brought down a hefty handmade bowl with a golden brown glaze that I bought on a trip last summer, and scoop the cooked oats into. I sprinkled broken pieces of pecans, added half a diced banana and drizzled the whole with maple syrup. I carried my breakfast into our living room where the morning light was kissing the green plants that sat on the floor. I need to repot several of them, making a note in my mind to dig out larger pots later this afternoon. I was once again brought to the view outside our windows by several wings gliding on the air, thankful for this slow delightful way before I started my busy to do list of the day.

in other news…

as you can see, it’s been a bit since i have met you here. there have been lots of changes to my creative life. but i am slowly finding me way back to it. it will just look a bit different. i have learned the past couple of years, that i need to take time to enjoy life as it comes. to enjoy the simple and the slow. to rest my weary and worn out body. that what i deemed important and therefore needed to be done at this moment, actually does not. that includes any of my creative avenues. however, i will still be sharing those creative endeavors with you as they come to me. first of all, there will be more journal entries like the above. i have not been quiet about my battle with anxiety. how i have been fighting it has been shouted form the roof tops, in hopes that it would also help those who also suffer. journaling as helped me beyond measure and i want to continue to encourage you to start if you haven’t.

so i will sign off for now. i hope you all have a blessed week.

heritage crafts | volume 1 issue 1 : hand dipped beeswax candles

hand dipped candles #0 - plein ayre meadows.jpg

i have always been drawn to lights in the midst of darkness. stars. bonfires. lightening bugs. twinkling christmas lights. and candles.

i would watch these for hours if i could.

my husband is pretty sensitive to smells. i’ve tried different kinds of candles with the same result. and it is not pretty. an almost instant headache for him. with him covering his nose and mouth and running either outside or to the basement. so when i accidently found a post about making your own beeswax candles, i thought i would give it a try.

we are at the beginning of the coldest week we’ve had yet this winter. plus snow. it makes for a wonderful time to stay inside and make candles. the warm smell of the honey scented beeswax fills our home.

did you know that burning beeswax actually cleans the air? when beeswax burns, they produce negative ions. they attach to the positive ions of dust, pollen, toxins, mold, etc. causing them to fall to the floor. beeswax candles are great for those that suffer from allergies. plus they produce a warm honey scent that is not overpowering. my husband actually comments on how good they smell. and he gets no headache from them…

beeswax also burns clean. it is virtually smokeless and dripless. it will drip if placed in a draft, so watch for that.


so now…here are the supplies you will need to make your own hand dipped candles.

-a double broiler or a large pot for water and a container for your beeswax | this could be a recycled food tin. or check your local thrift shops for pots. one thing to remember when looking for your wax containers. the larger the container, the more wax you will need. the shorter the container, the shorter your candles.

-wick | the wick i used is unavailable right now but this one is close. this size of wick works good for candles that are about an inch in width. any smaller and you will need a smaller size wick. possibly a #3/0.

-beeswax | you can check with your local beekeeper or order online. amazon and etsy are both places where i have gotten beeswax. just be sure that the beeswax is 100% and is filtered. and you want either the top comb or the general beeswax. the brood wax, which is dark brown, while great for other applications, is not good for burning candles. you will need more wax then you think. i make 8 pair at a time which only weigh slightly over a pound but i actually need about 4-5 pounds of wax total. i’ll explain why in the tutorial below.

-something to hang your candles on | i use a wooden yard stick across my kitchen shelves.

-a wooden spoon or something to gently stir your unmelted wax into melted wax.

- a sharp knife or scissors

-the candlestick you plan on using with your candles should be within reach

-newspaper to cover your working surface.

one thing to keep in mind. what ever you use for your candle making will only be used for candle making in the future. beeswax is extremely hard to clean off of surfaces, and while not toxic, you don’t want to use your good kitchen items to make candles.


one important thing to remember. never melt your beeswax directly on the stove. always use a double broiler. beeswax can start on fire when it gets too hot. and it will burn very hot.


the thing that takes the longest is getting your wax melted. the container i use is roughly 8 inches tall. and it takes about 4 hours to melt enough wax to fill it. so first thing in the morning i start my wax melting, so by after lunch, i can start dipping.

#1 | measure the inside of your wax container. then substract about an inch or two. this will be the length of your candles. cut your wick double the amount plus 2-3 inches. this will allow you to hang your candles. i work with eight pair at a time.

#2 | cover your work surface. fill your container with wax, put it in a pot, then add the water. fill your pot full. the more full of water, the less chance of your wax being too cool at the the top. keep an eye on the water level to make sure it doenst get too low throughout the process. turn on your burner to medium low. you dont want to boil your wax but your water can be at a simmer or low boil.

the beeswax pellets are easy to use, but if you have a block of beeswax, you can put it in a clean garage bag and stick it in the freezer for a couple of hours. then in order to break the chunks up, drop it on a concrete floor. its much easier on your hands then shredding or cut the with your hands.

hand dipped candles #1 - plein ayre meadows.jpg

as your wax melts, add more wax until it reaches almost to the top of your container. my container took about 4 pounds of wax to fill it.

hand dipped candles #2 - plein ayre meadows .jpg

#3 | you will need to prepare your wick. to do this, fold your long pieces of wick in half and dip into the melted wax. you will see tiny air bubbles.

remove when the bubbles stop. this will only take a few seconds. this allows the wick to soak up the wax. this in turn, will cause an even burn.

hand dipped candles #3 - plein ayre meadows.jpg

#4 | when you have prepared a couple of wicks. go back and straighten them out with your fingers. pull evenly on both ends. you will need to do this while its still warm, but dont burn your fingers. if you wait too long, the wax will cool. and you could crack the wax.

hand dipped candles #4 - plein ayre meadows.jpg

just keep going back and forth, dipping and straightening. once all the wicks are prepared and straighten, start dipping again. but this time, dip straight in and pull straight out. you don’t need to keep the wick in long. in fact, if you leave it in too long, you will melt the wax off of your wick. you will need to straighten out the wicks for the first 3-4 times you dip them. just pull on the ends like you did at the beginning. after that the candles should stay straight. once the last set is done, the first set is cool enough to dip again.

hand dipped candles #5 - plein ayre meadows.jpg
hand dipped candles #6 - plein ayre meadows.jpg

remember to keep an eye on the water level adding more as needed. also add more wax as needed. you need to keep your melting container full.

#5 | as you can see in the photo above the candles start to get a pointed end when the wax runs and cools on the bottom. take your knife or scissors and cut the bottom off. be careful not to cut too much off or you will expose the wick. but if that happens, just take some scissors and cut the exposed part off.

hand dipped candles #8 - plein ayre meadows.jpg

#6 | dip your candles again 1-2 more times. then grab your candlestick and see how well your candles fit. you may need to dip several more times. watch for the wax forming a pointed end. on the bottom.

hand dipped candles #10 - plein ayre meadows.jpg
hand dipped candles #11 - plein ayre meadows.jpg

here is my batch of hand dipped beeswax candles. pretty, aren’t they! my candles ended up about 7 inches tall and 7/8” in diameter. these probably took anywhere from 20-30 dips to create. burn time is roughly 4-5 hours. i do let my candles cure for about 24 hours before i use them and do notice a longer burn time when that cure time is allowed.

now… if you run out of beeswax to melt and your level of melted beeswax is too low to create the taller candles, you can either make shorter candles, or even a set of birthday candles. for the birthday candles, you will need a smaller wick like a #5/0 size. this way they don’t burn too fast. or you can just keep your wax in you melting container, let it cool, and store it for the next time you want to make candles.

hand dipped candles #12 - plein ayre meadows.jpg

i hope you try this! it is also a great craft to do with your kids. just watch out for warm wax and little fingers.

and remember…always trim your wicks on your finished candles to a 1/4 of an inch and never leave a candle burn unattended.

hand dipped candles #13 - plein ayre meadows.jpg